A Client’s Wish I Couldn’t Wait to Finish

It began, as it always does, with a message…

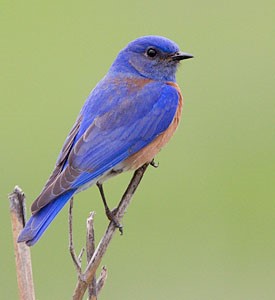
“Hey, can I have a drawing of a Bluebird in a glass frame?”


I was so eager to get started!

I am in the middle of a move, lack of sleep from caring for my babies and stressed for so many other reasons – as we humans usually are. I have no room in my house to meditate (boxes everywhere as we are moving) and no time to go for a walk. But while my babies sleep I can write a blog and do some art, on my kitchen table of all places.

So I emailed a ‘HECK YEAH!’ with this following e-mail to get the ball rolling. I like to give my clients as much room for input as they can manage. The more they tell me the more likely they will be happy with the final product.

Below is the e-mail I sent to client

**Minus any personal information**

Pick a bird you like from the following, you can also send me a picture of something, if you like.


 This is an example that is only water color

(only water color is less expensive as it’s less labor intense, approx. $40)
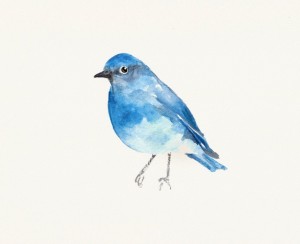
Blue Bird Watercolor


This is a multimedia example of a baby Bluebird

(Available for Sale)
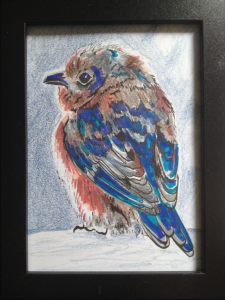
Blue Bird Framed Multimedia

This is another example of a multimedia, no paint

(This piece is Sold)
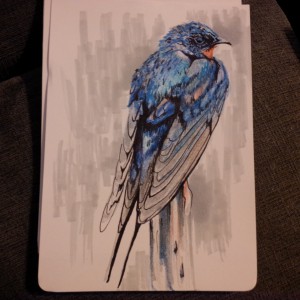
Multimedia Swift


Final Bluebird Picture
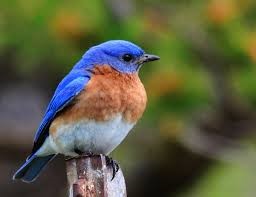
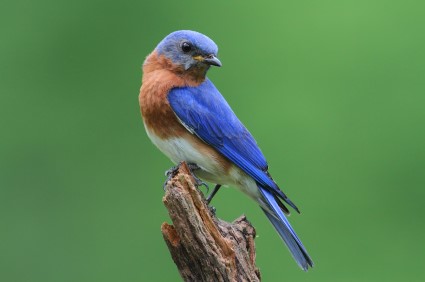
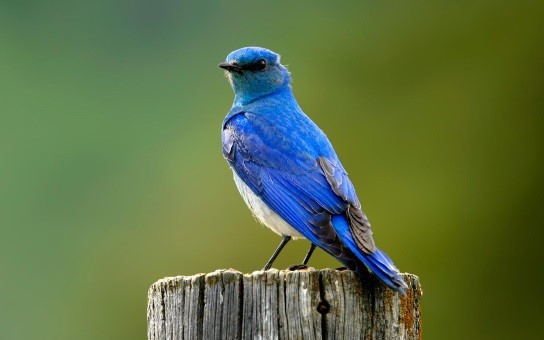
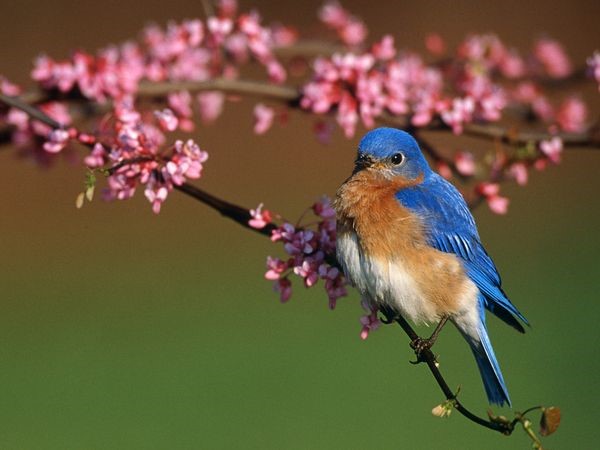
Bluebird Image Selection

The Selection

She replied wanting a multimedia and chose a favorite among my suggestions. She also requested that the bird be positioned differently, so I sent her another similar image with the bird in a more desirable position. This we agreed upon with a modification of placing the bird on a fence post instead of the branch from the original image.


My Process

Step One

  • Roughed in with gray my “SPACE”. Where I wanted the image on the page and some of its important blocked out features
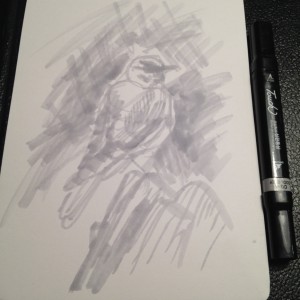
Blue Bird Step 1


Step Two

  • Used a mechanical pencil to draw out the feathers and details I didn’t want to miss
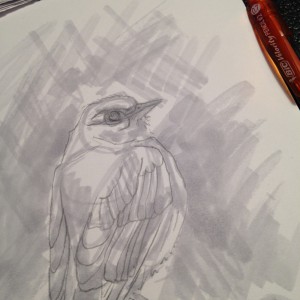
Blue Bird Step 2


Step Three

  • Wanted to warm up the browns in the picture with some warm peach marker
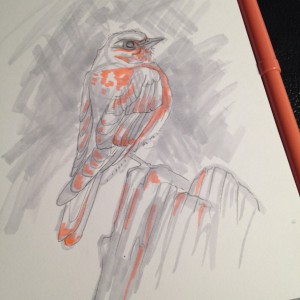
Blue Bird Step 3

Step Four

  • Brought out the vivid blue with marker
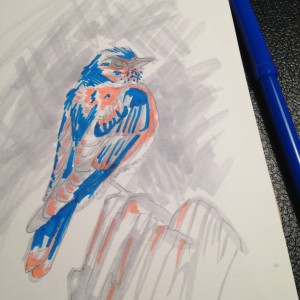
Blue Bird Step 4

Step Five

  • Added the pencil crayon to fill in the color and help round out the image
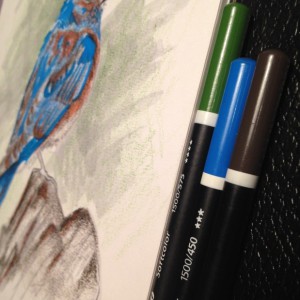
Blue Bird Step 5

Step Six

  • Added in the final touch of marker to bring out the features and sharpen up the image
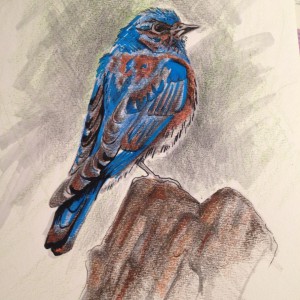
Blue Bird Step 6


Step Seven – Final

  • Placed in a frame to bring it to completion!
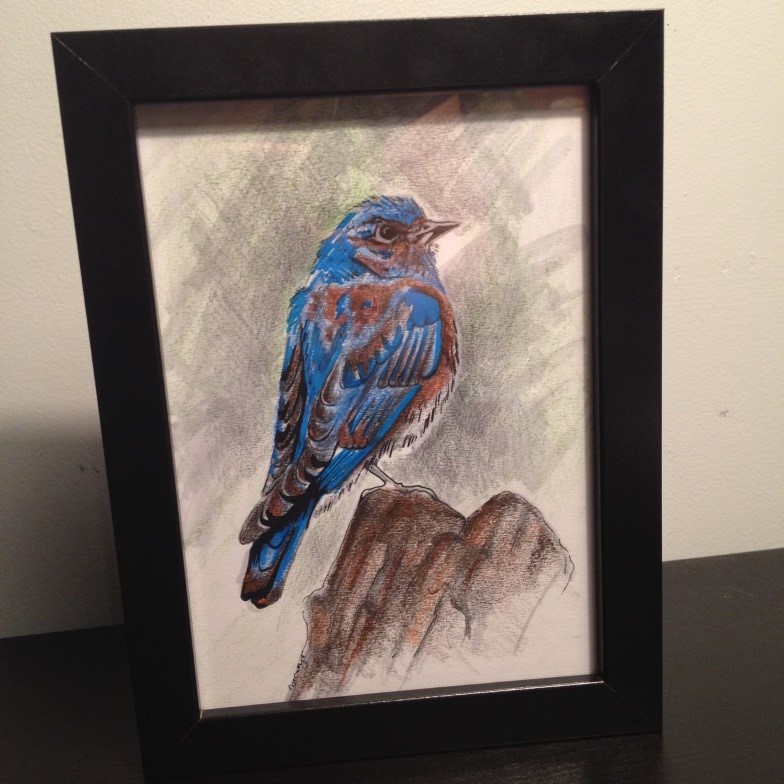
Blue Bird Step 7


I had the best time creating this! I love clients with my taste in art, Hahaha!


Materials I Used
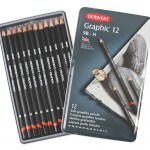
 

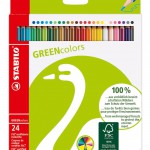
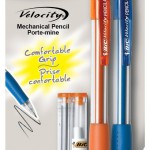
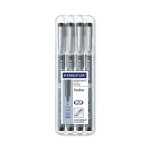
Derwent Graphic Stabilo Greencolors 24 SetShinhan Touch Markers

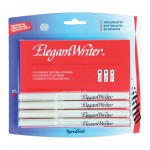
Speedball Elegant Writer Velocity Pencil #2Staedtler Pigment Liner Metal Pens


Peace out till next time!

My Journey As An Artist

The Water Color HUGS Series


This is honest to goodness writing about needing some serious me time and feeling bad about it!

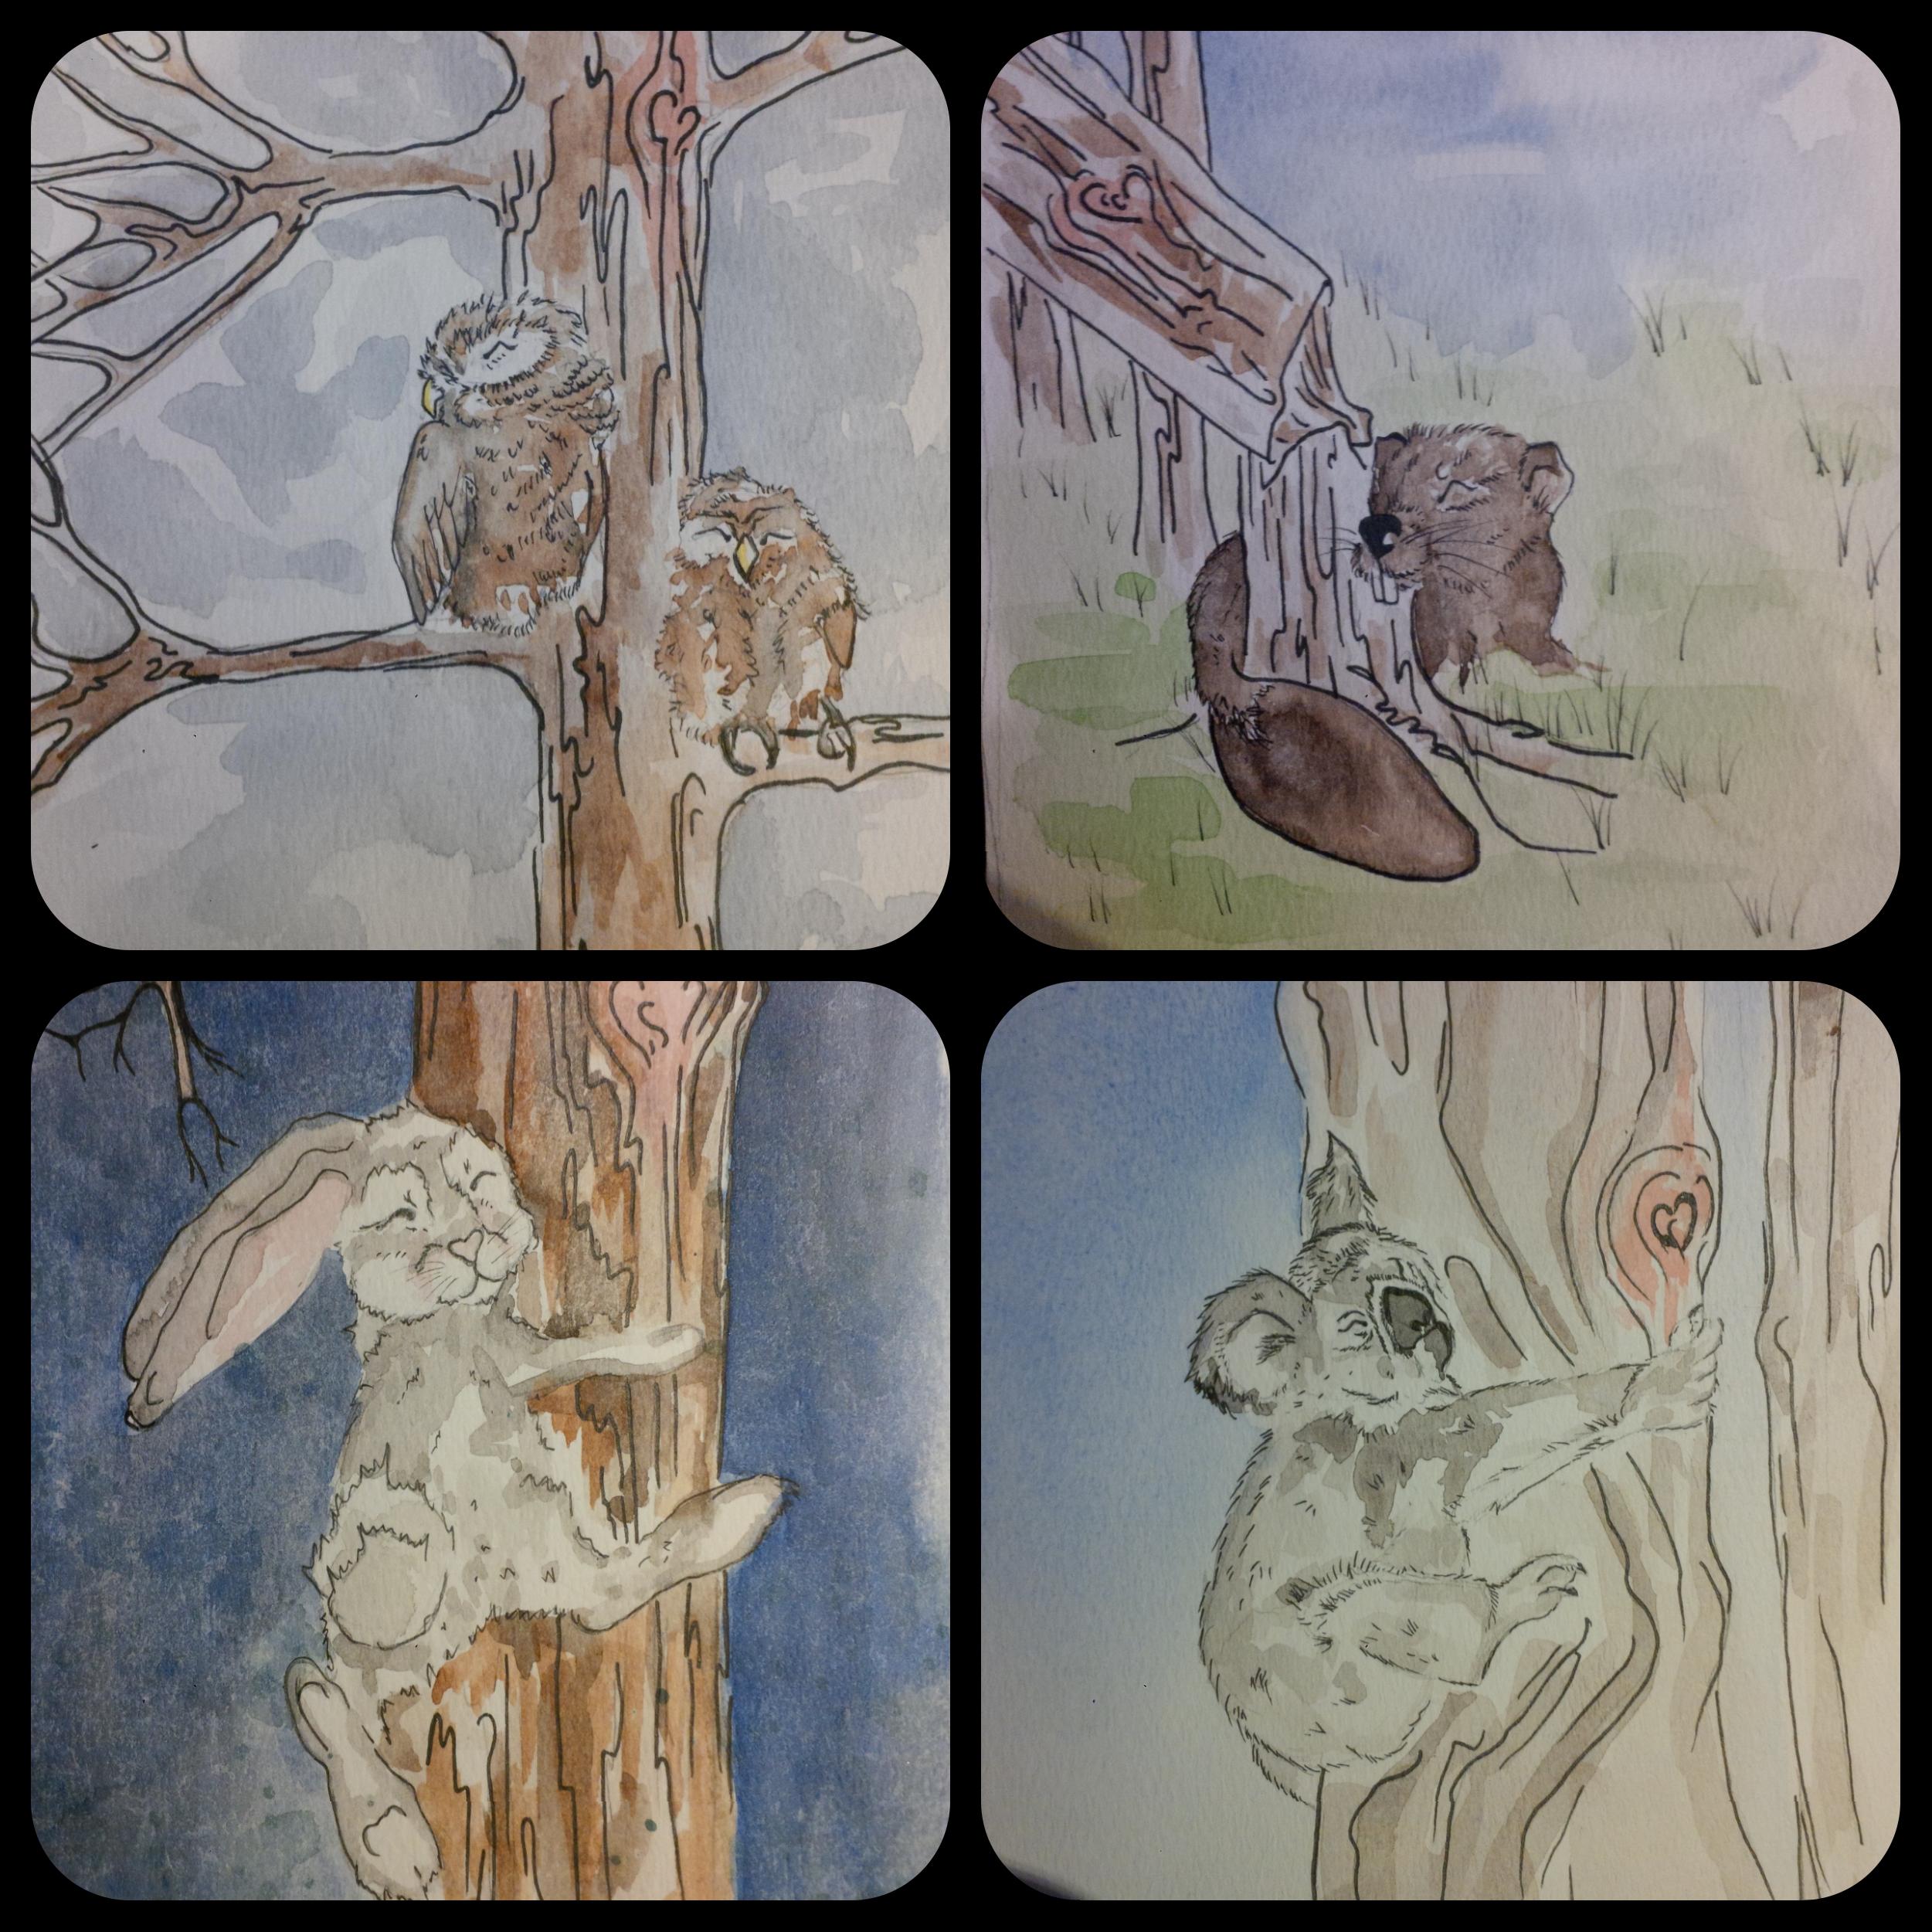
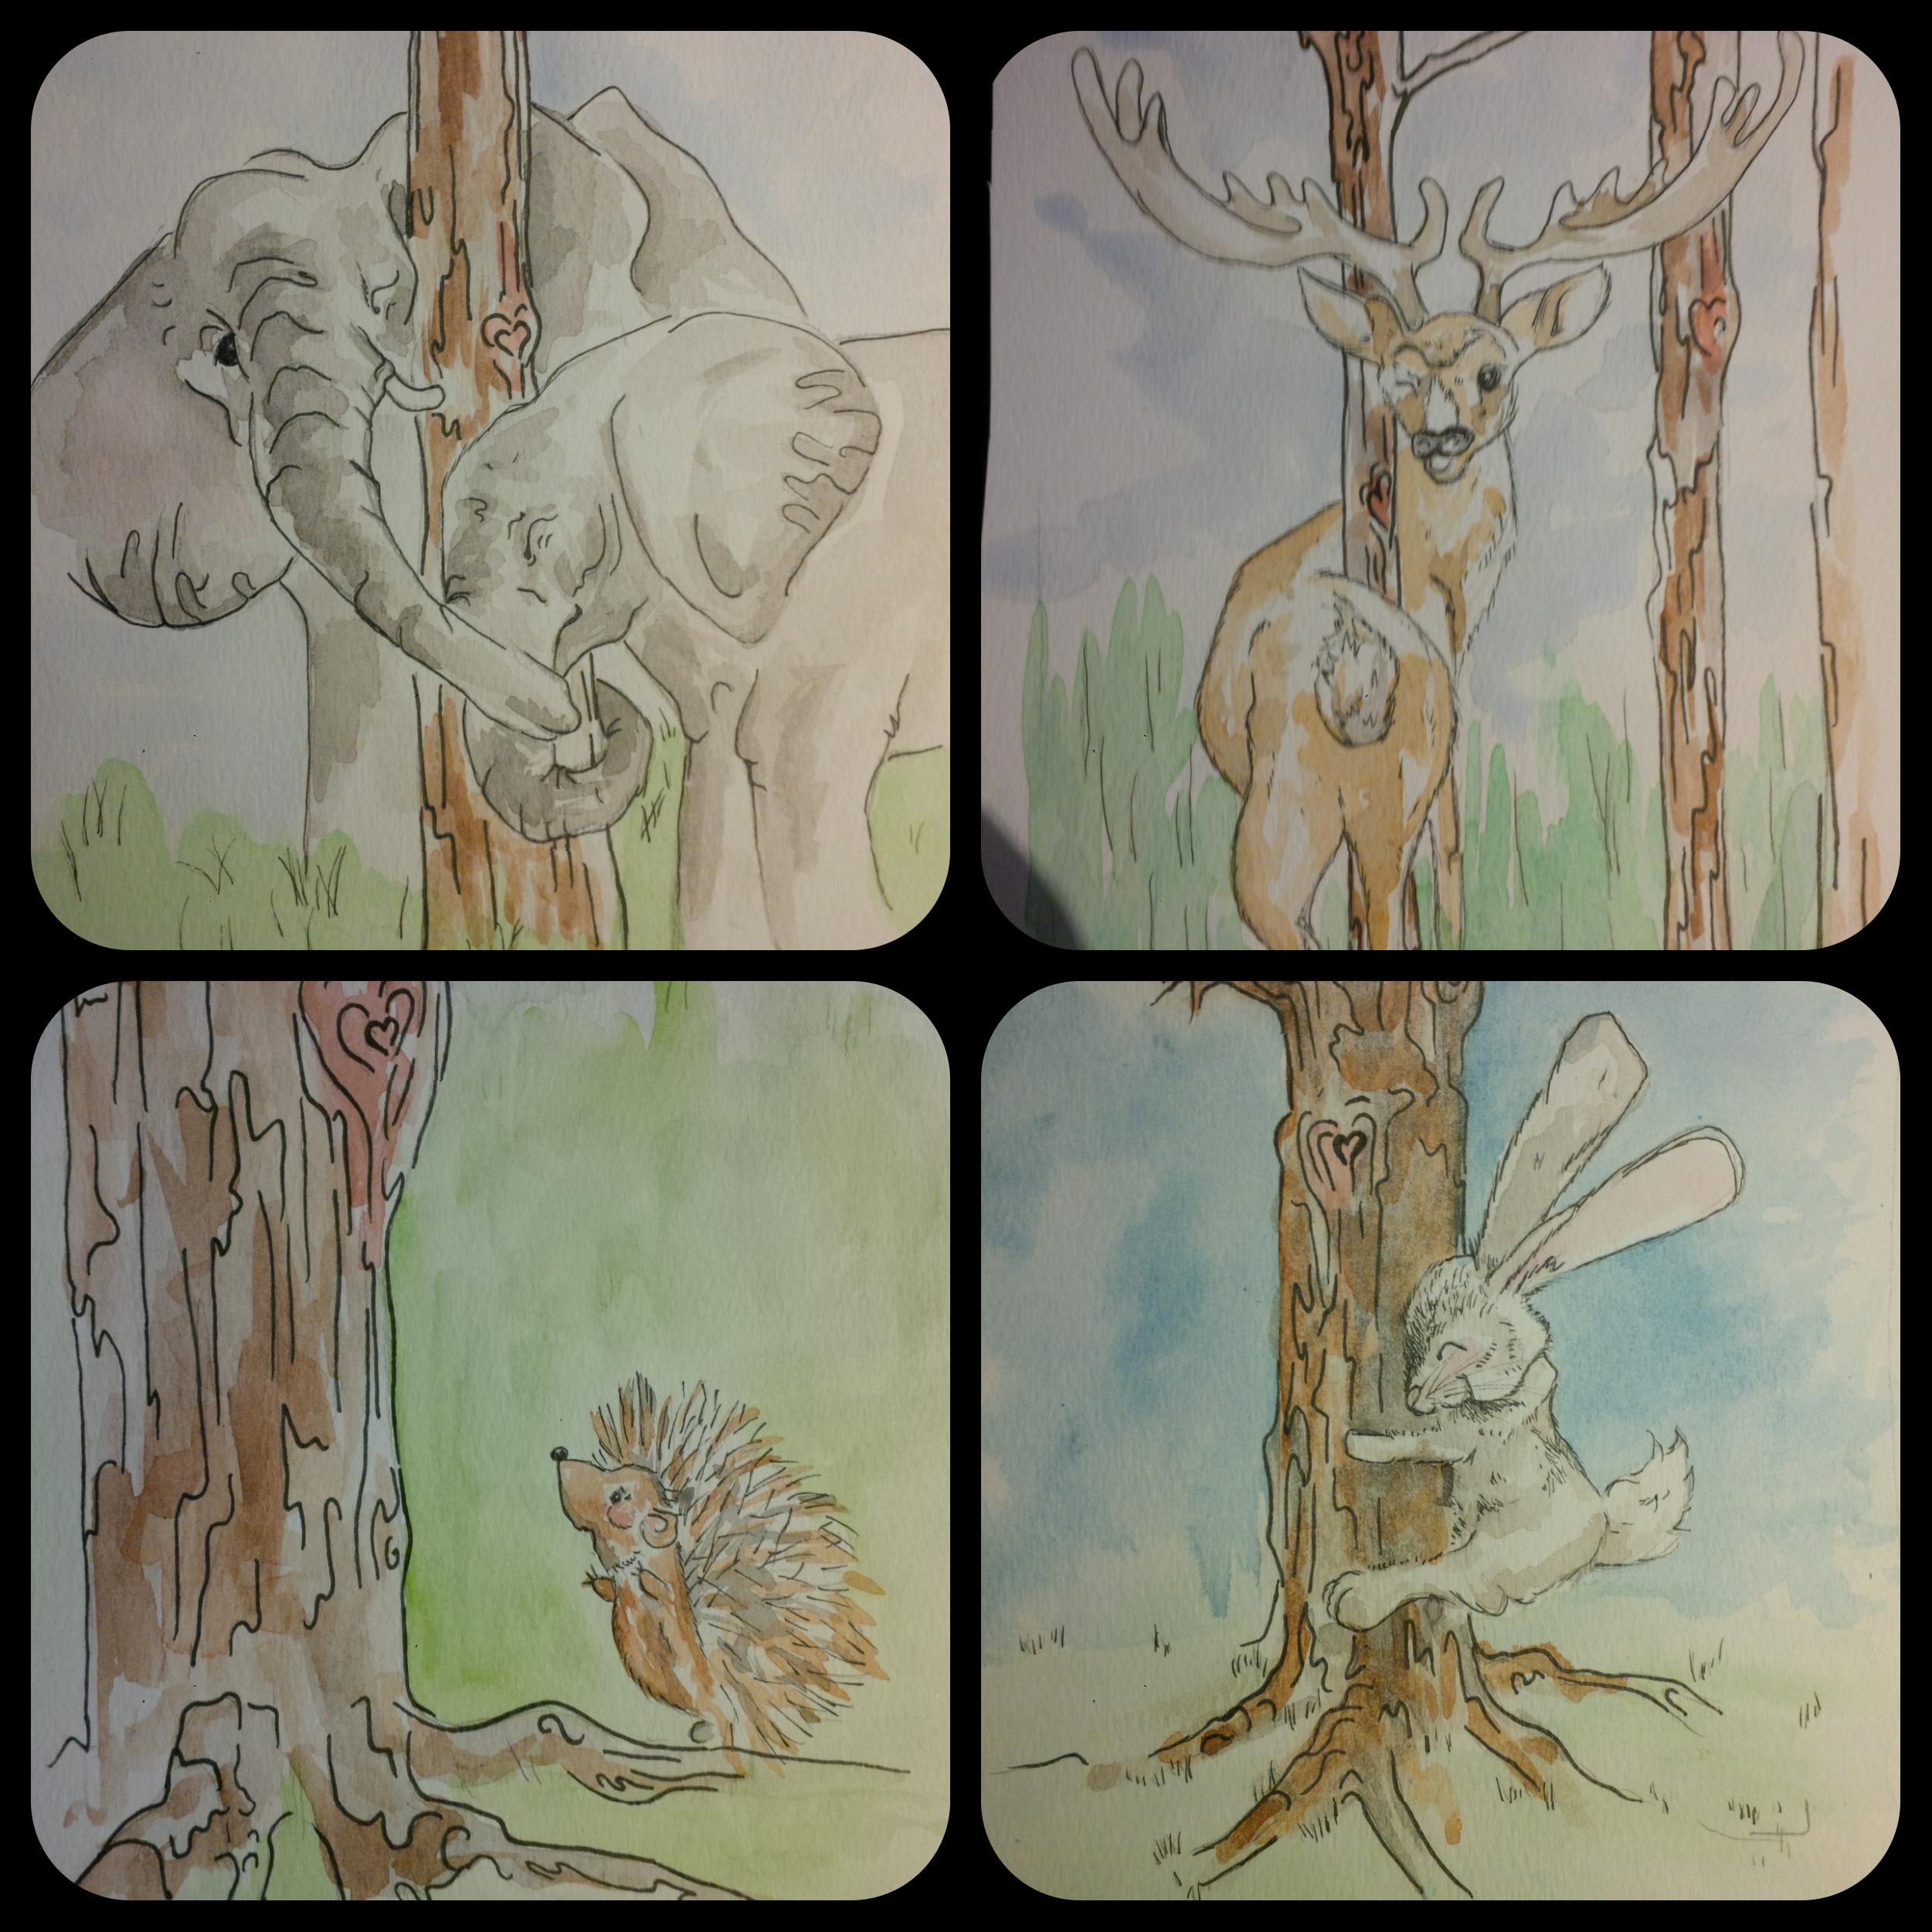
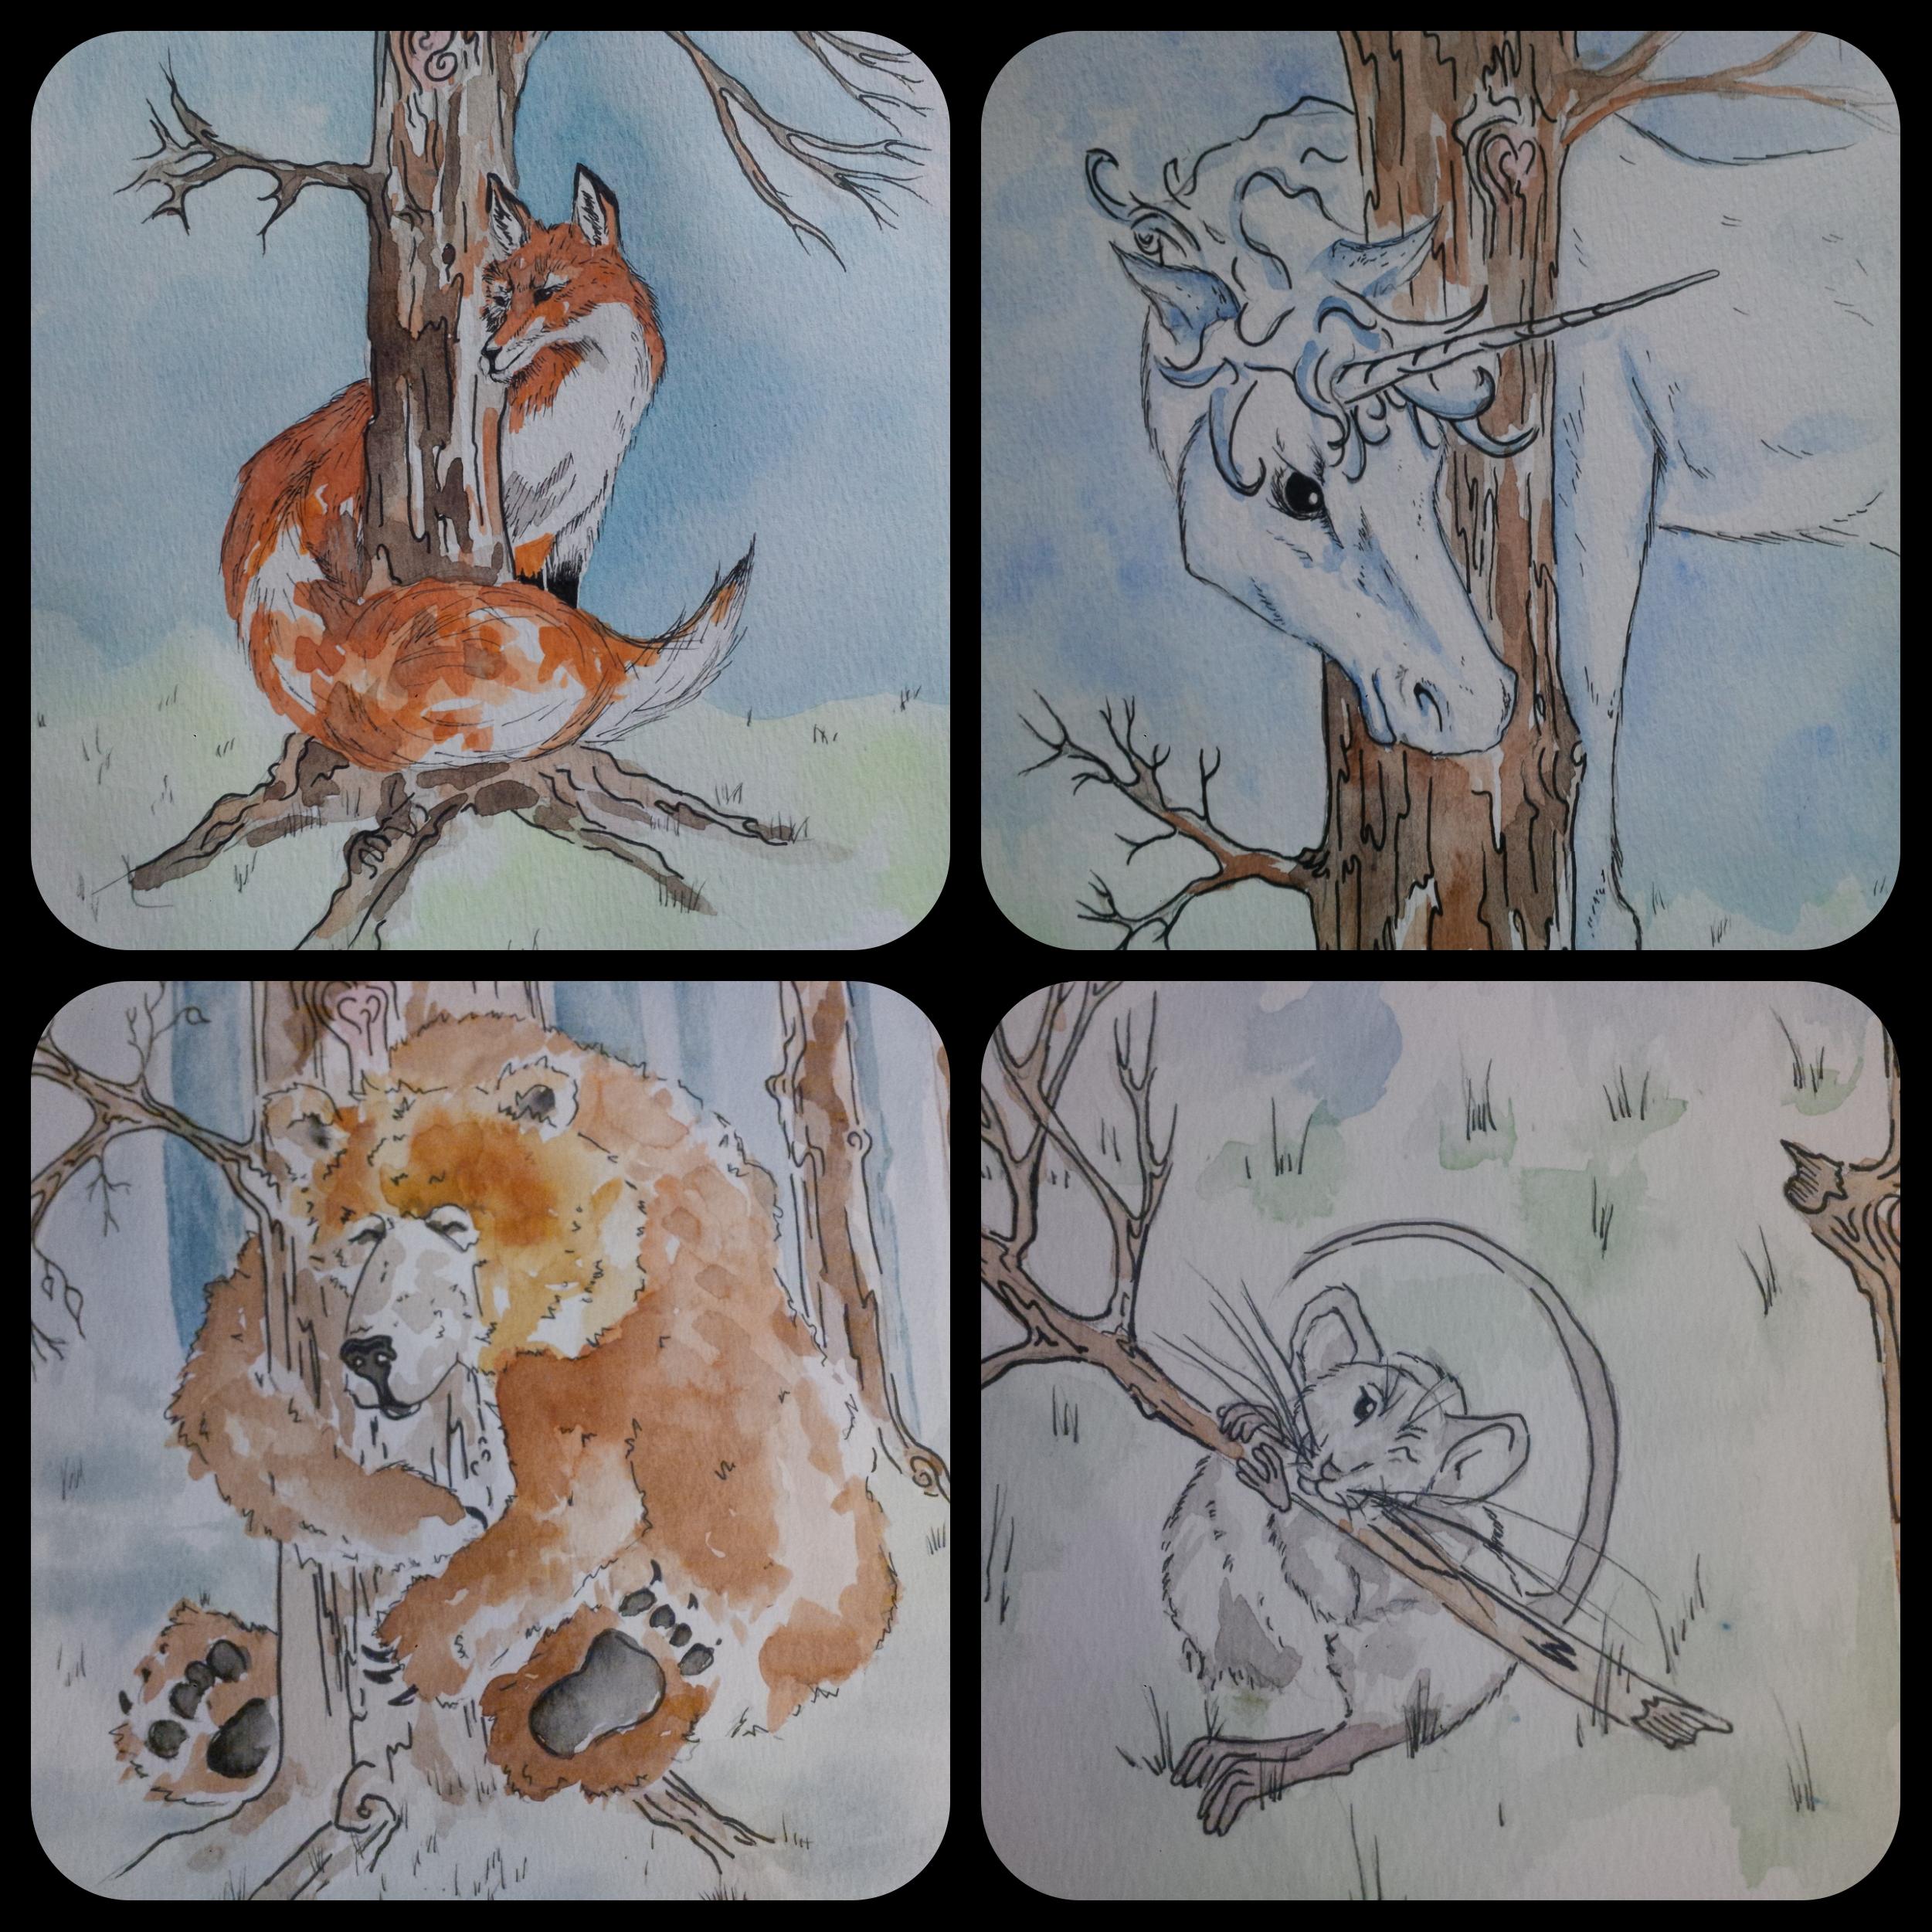
Below is a gallery of a period in my journey as an artist during my second Maternity Leave which I categorize as a Personal Art Therapy Collection.

I was off on yet another maternity leave, almost back to back as my kids are 18 months apart, and I had to leave my employment early due to family health issues as well as different and difficult second pregnancy. I hated leaving I was so excited to start at a new school and get into it! But NOPE off I go again deep into the world of motherhood!

To help stay focused amidst the craziness of ongoing renovations throughout our living space, my parents with their own health concerns, my first born turning one and my husband working so far away I turned to art.
ART was and has always been my answer.Hugs Bodhi

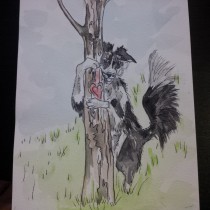
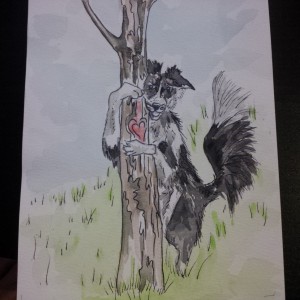
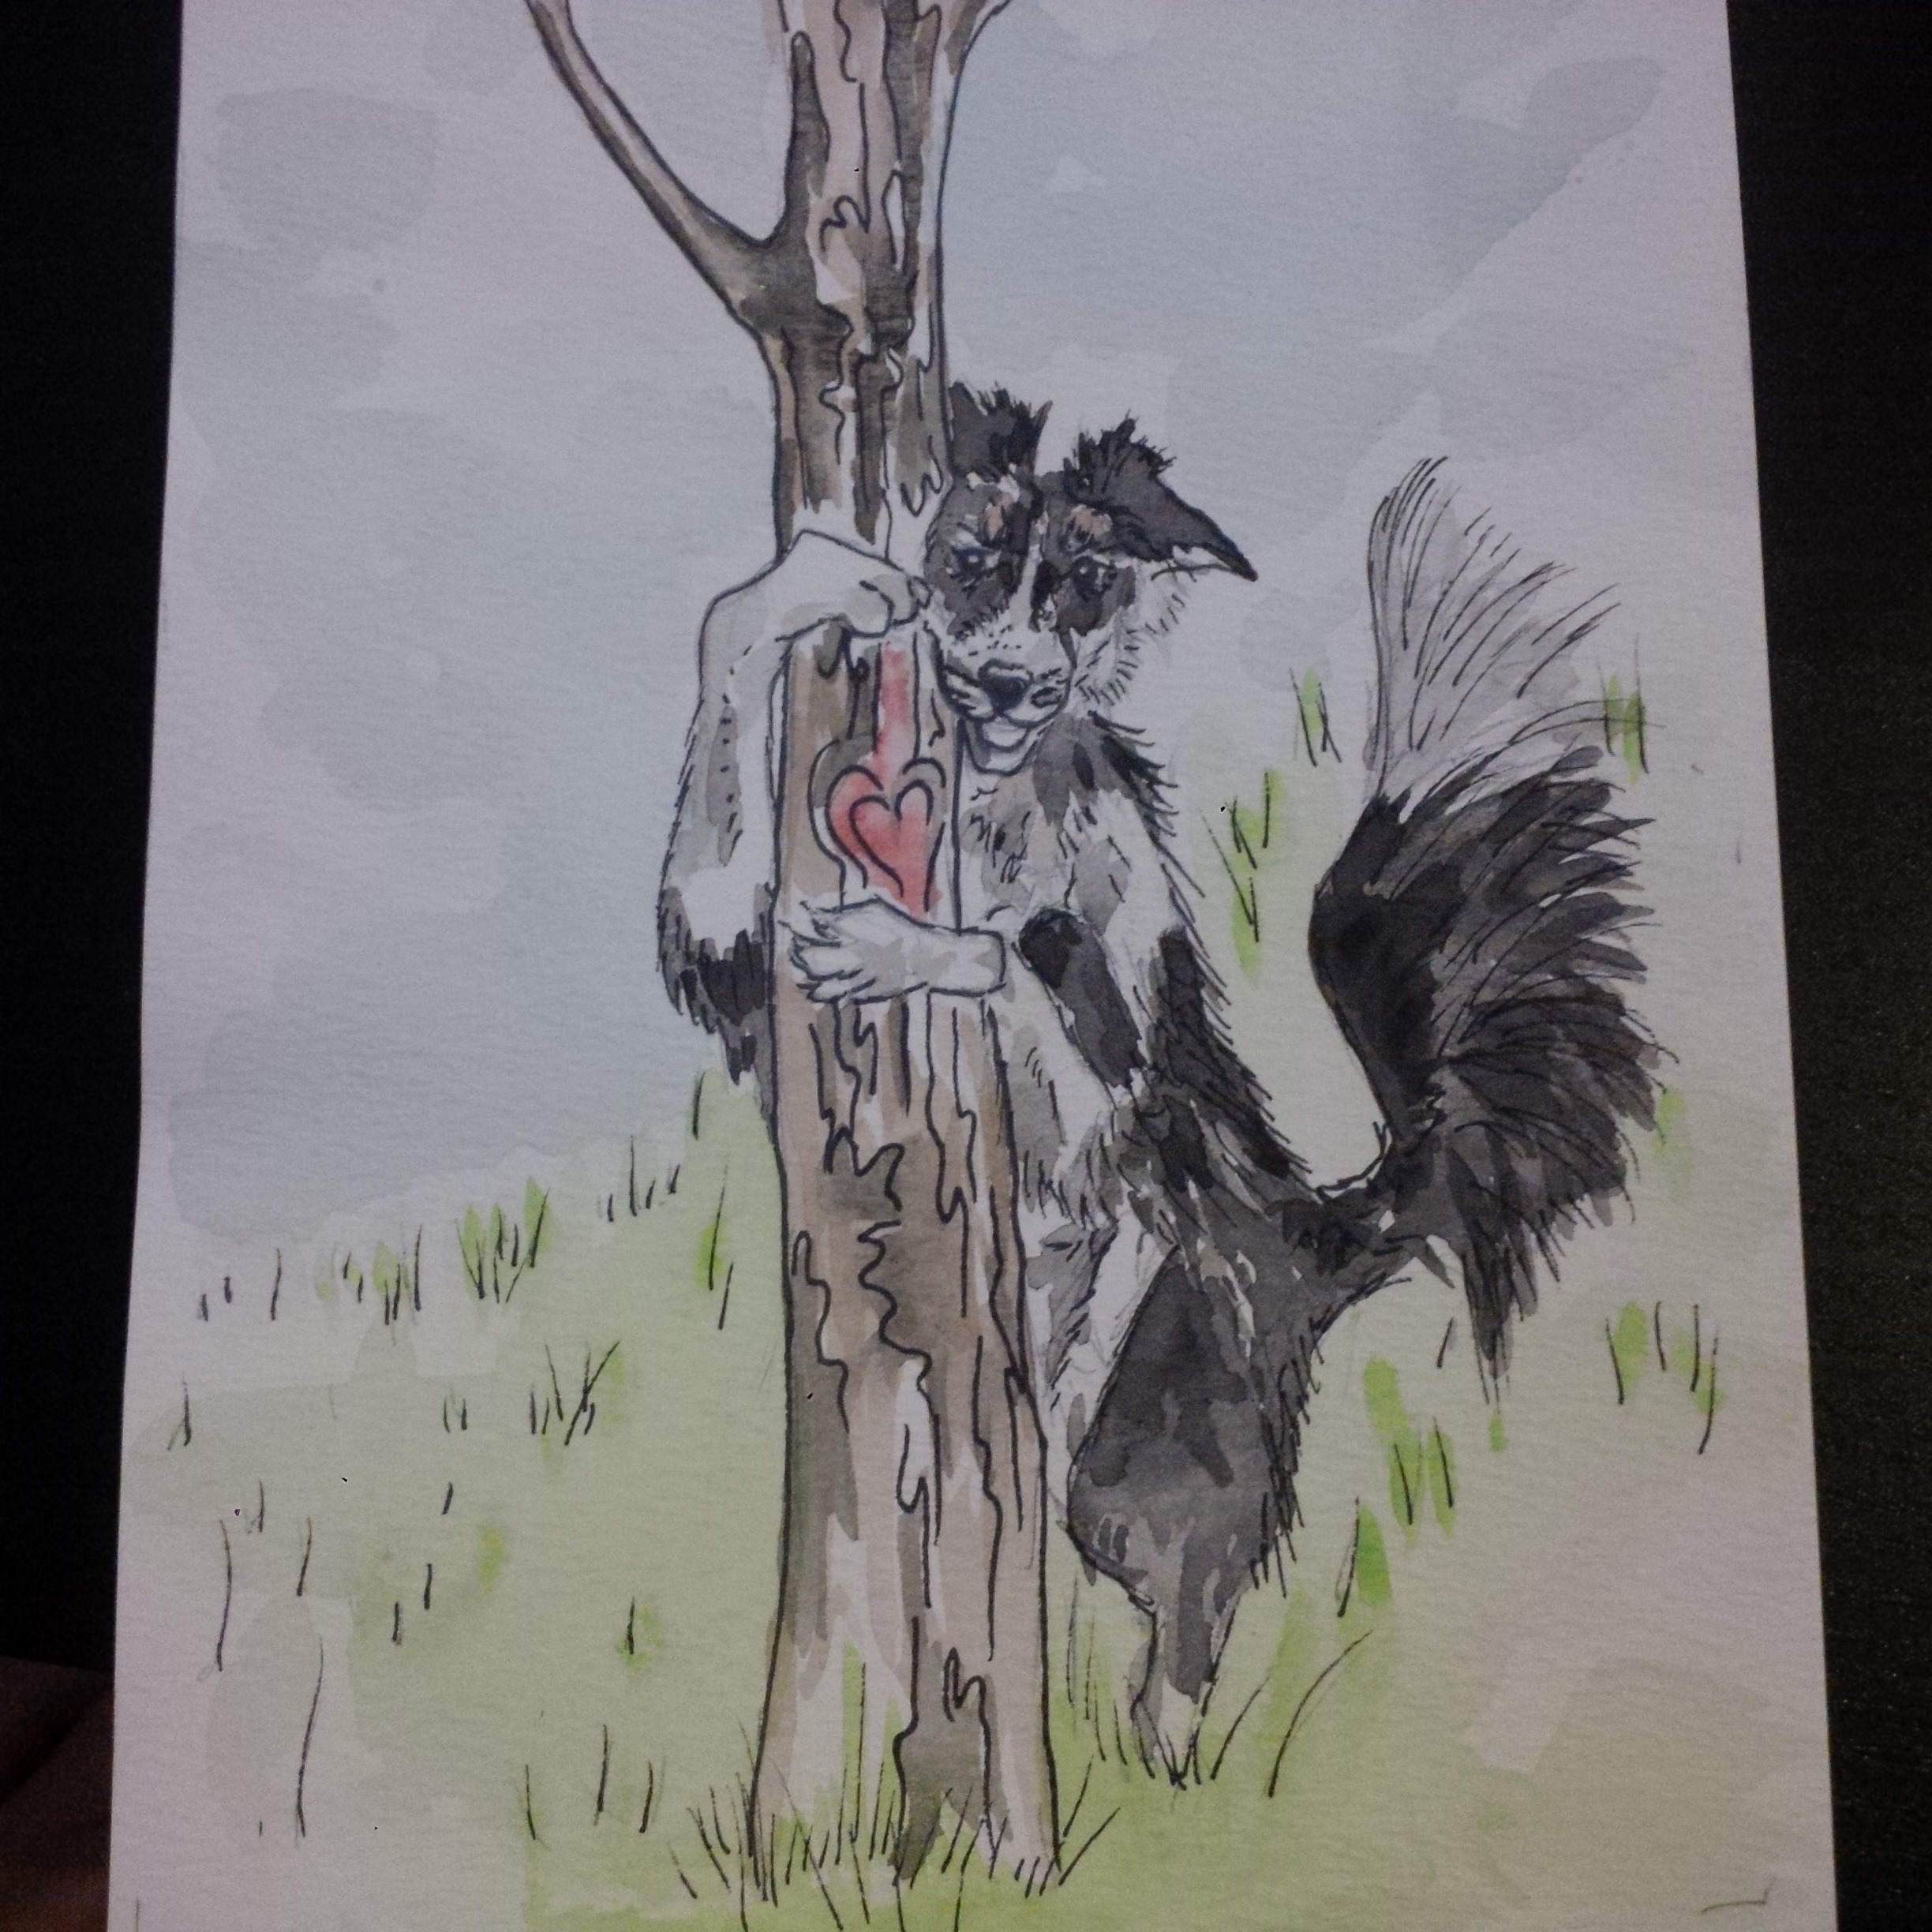
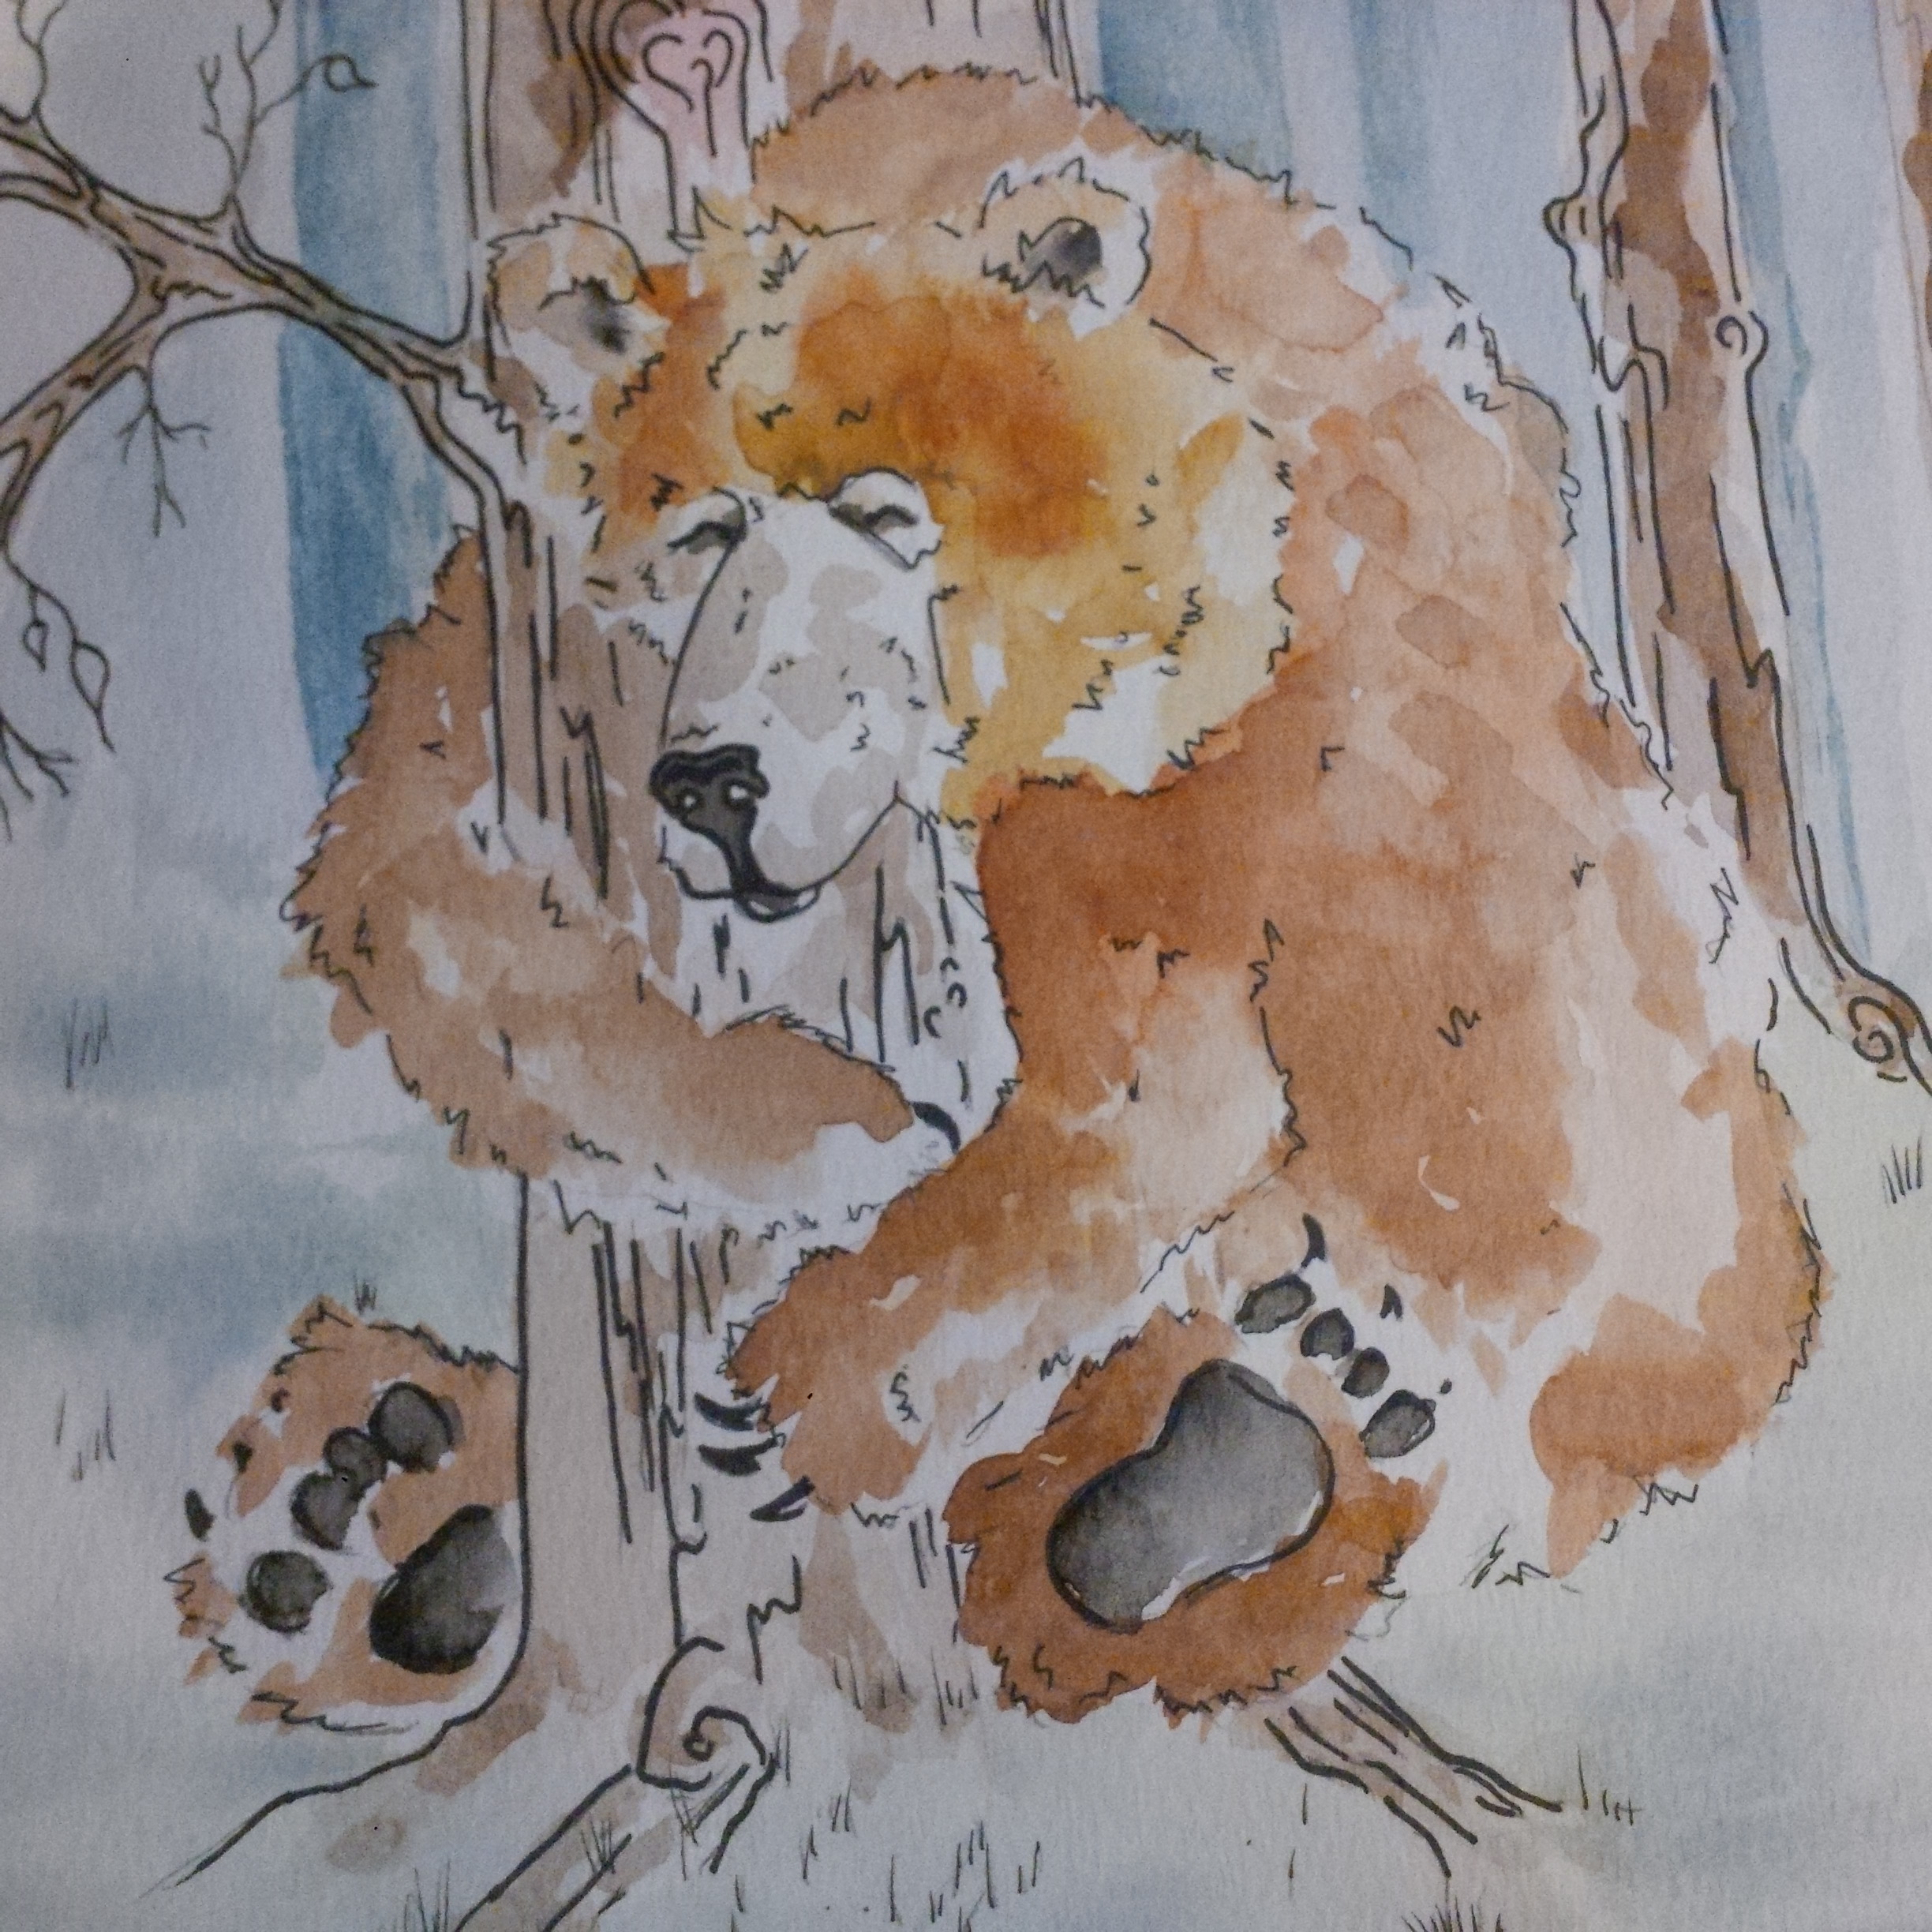
I wanted to reconnect to my inner-self and I couldn’t get comfortable so I went on a lot of walks in nature and I found myself finally comfortable away from all the noise.  “’That is it’ I said, ‘if I can’t embrace my baby inside me I will embrace nature, it is a natural thing after all’”.

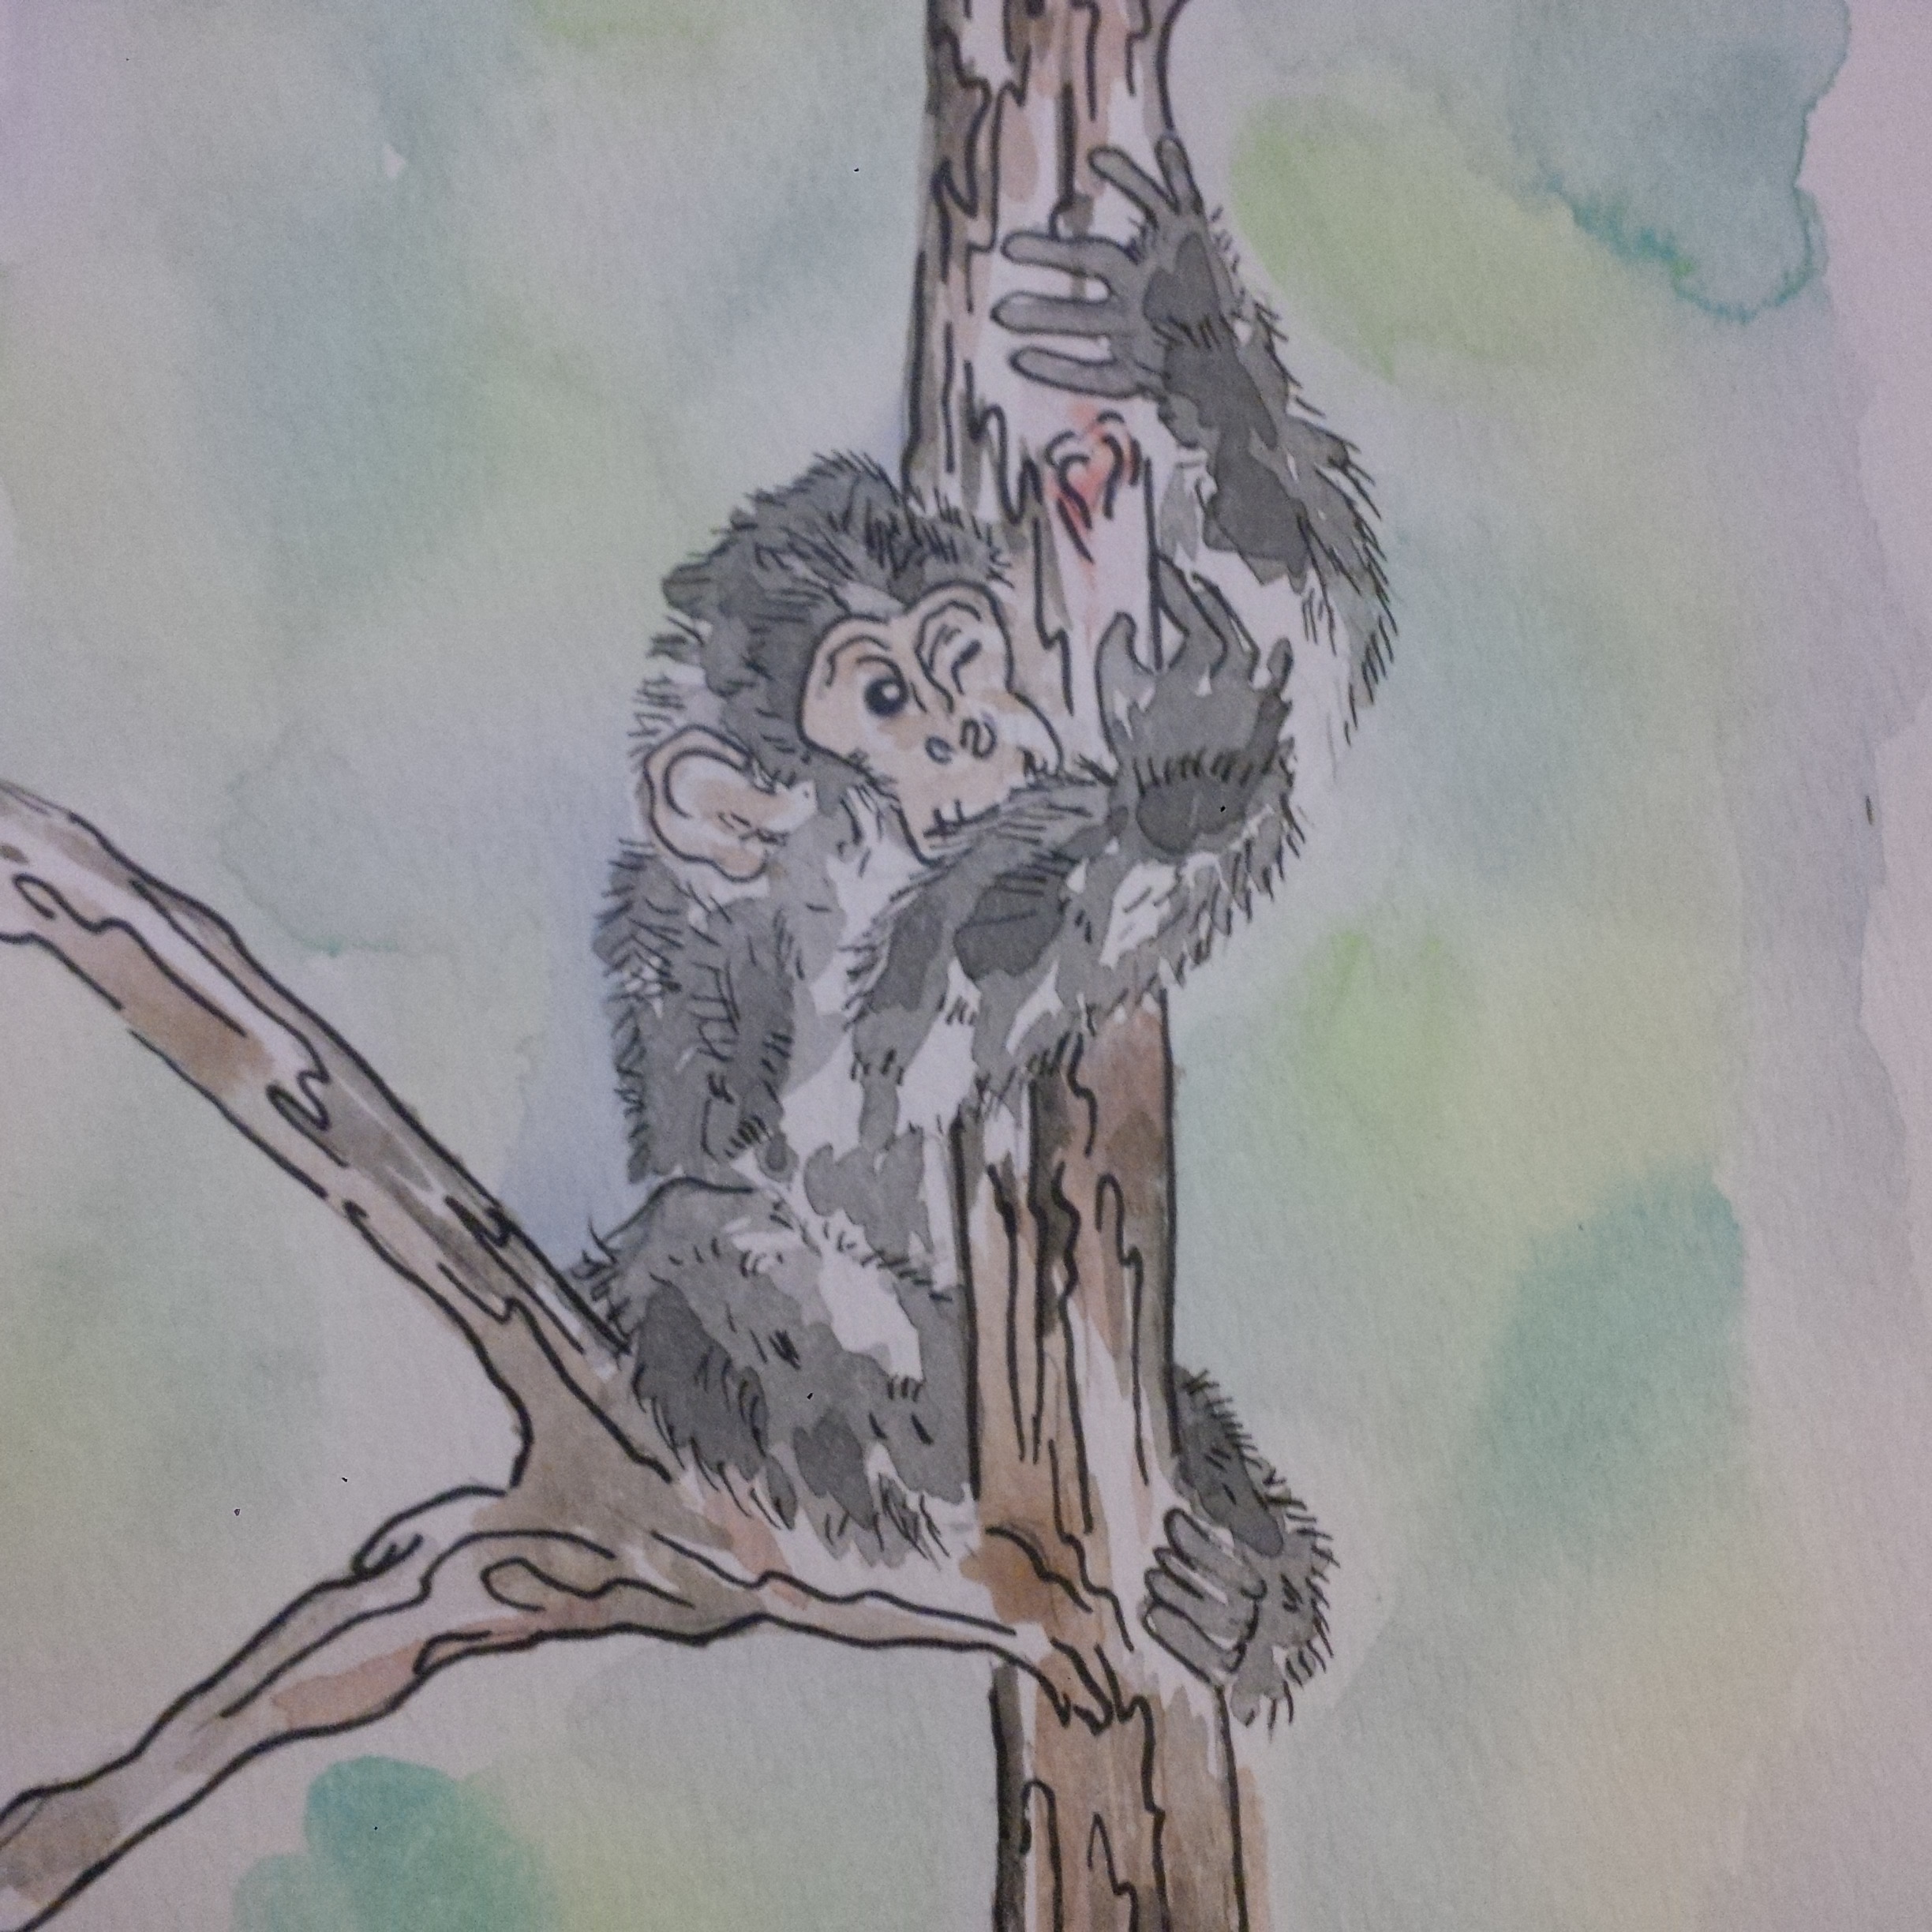
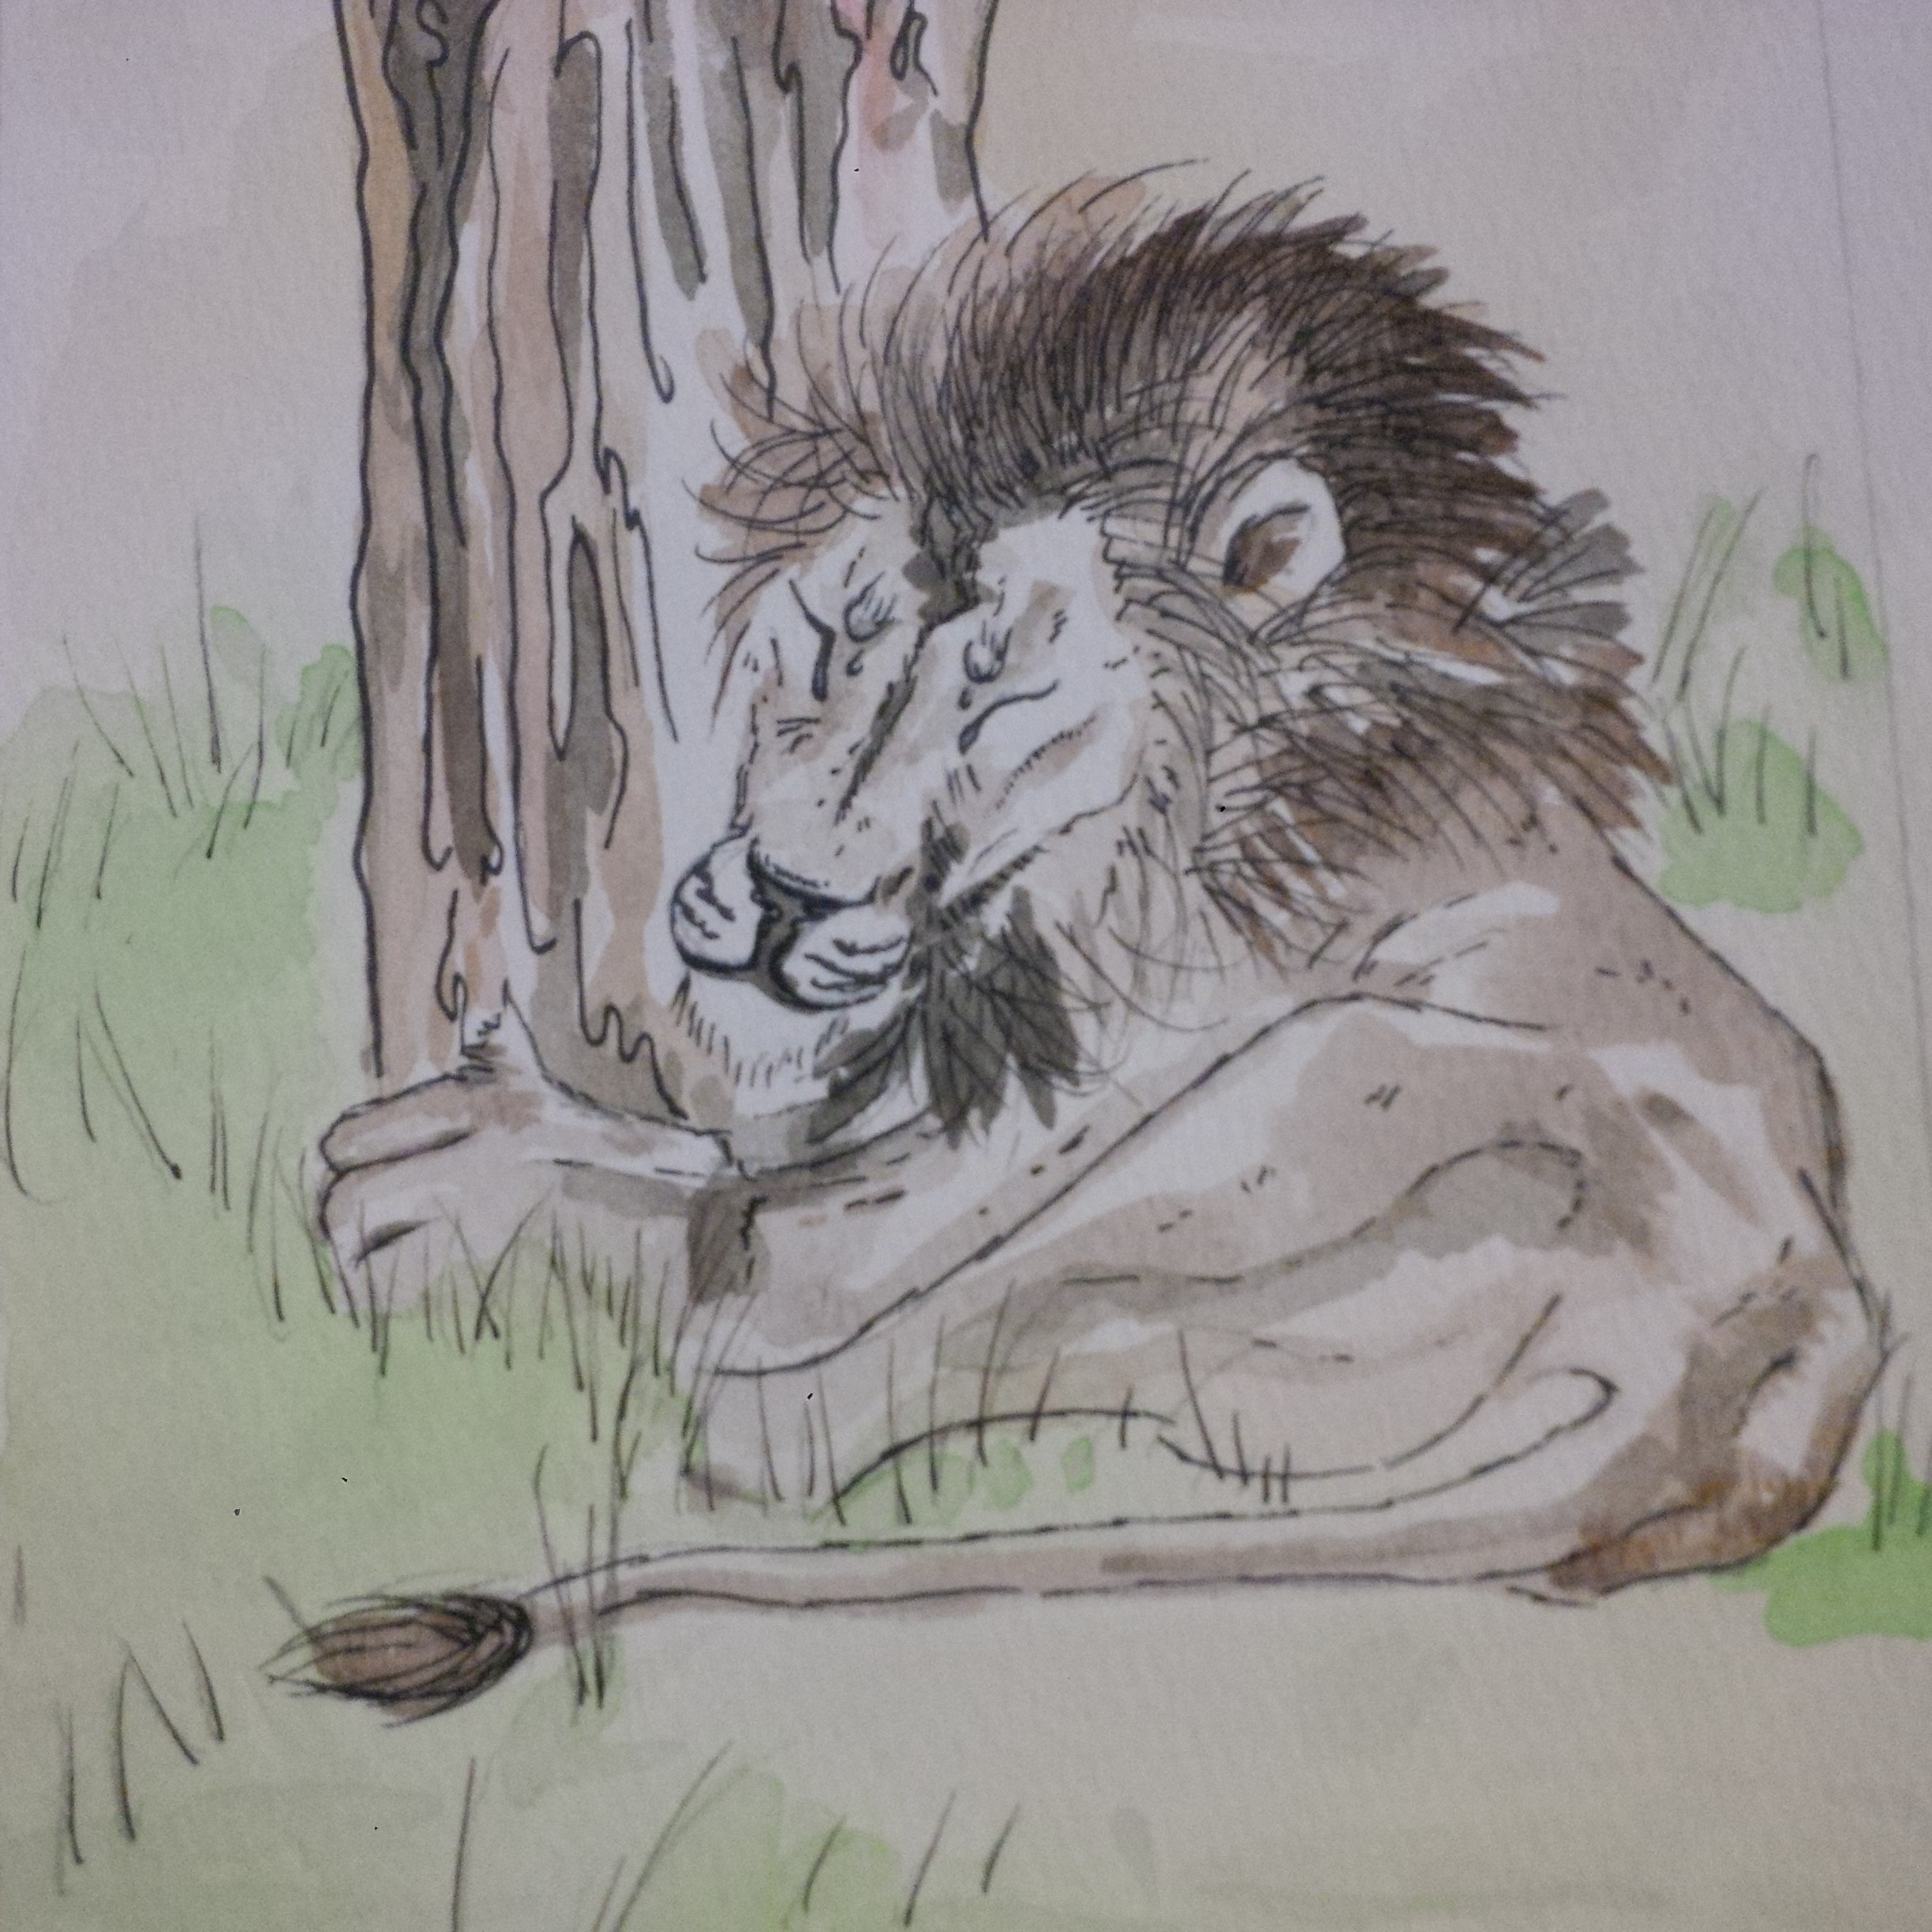
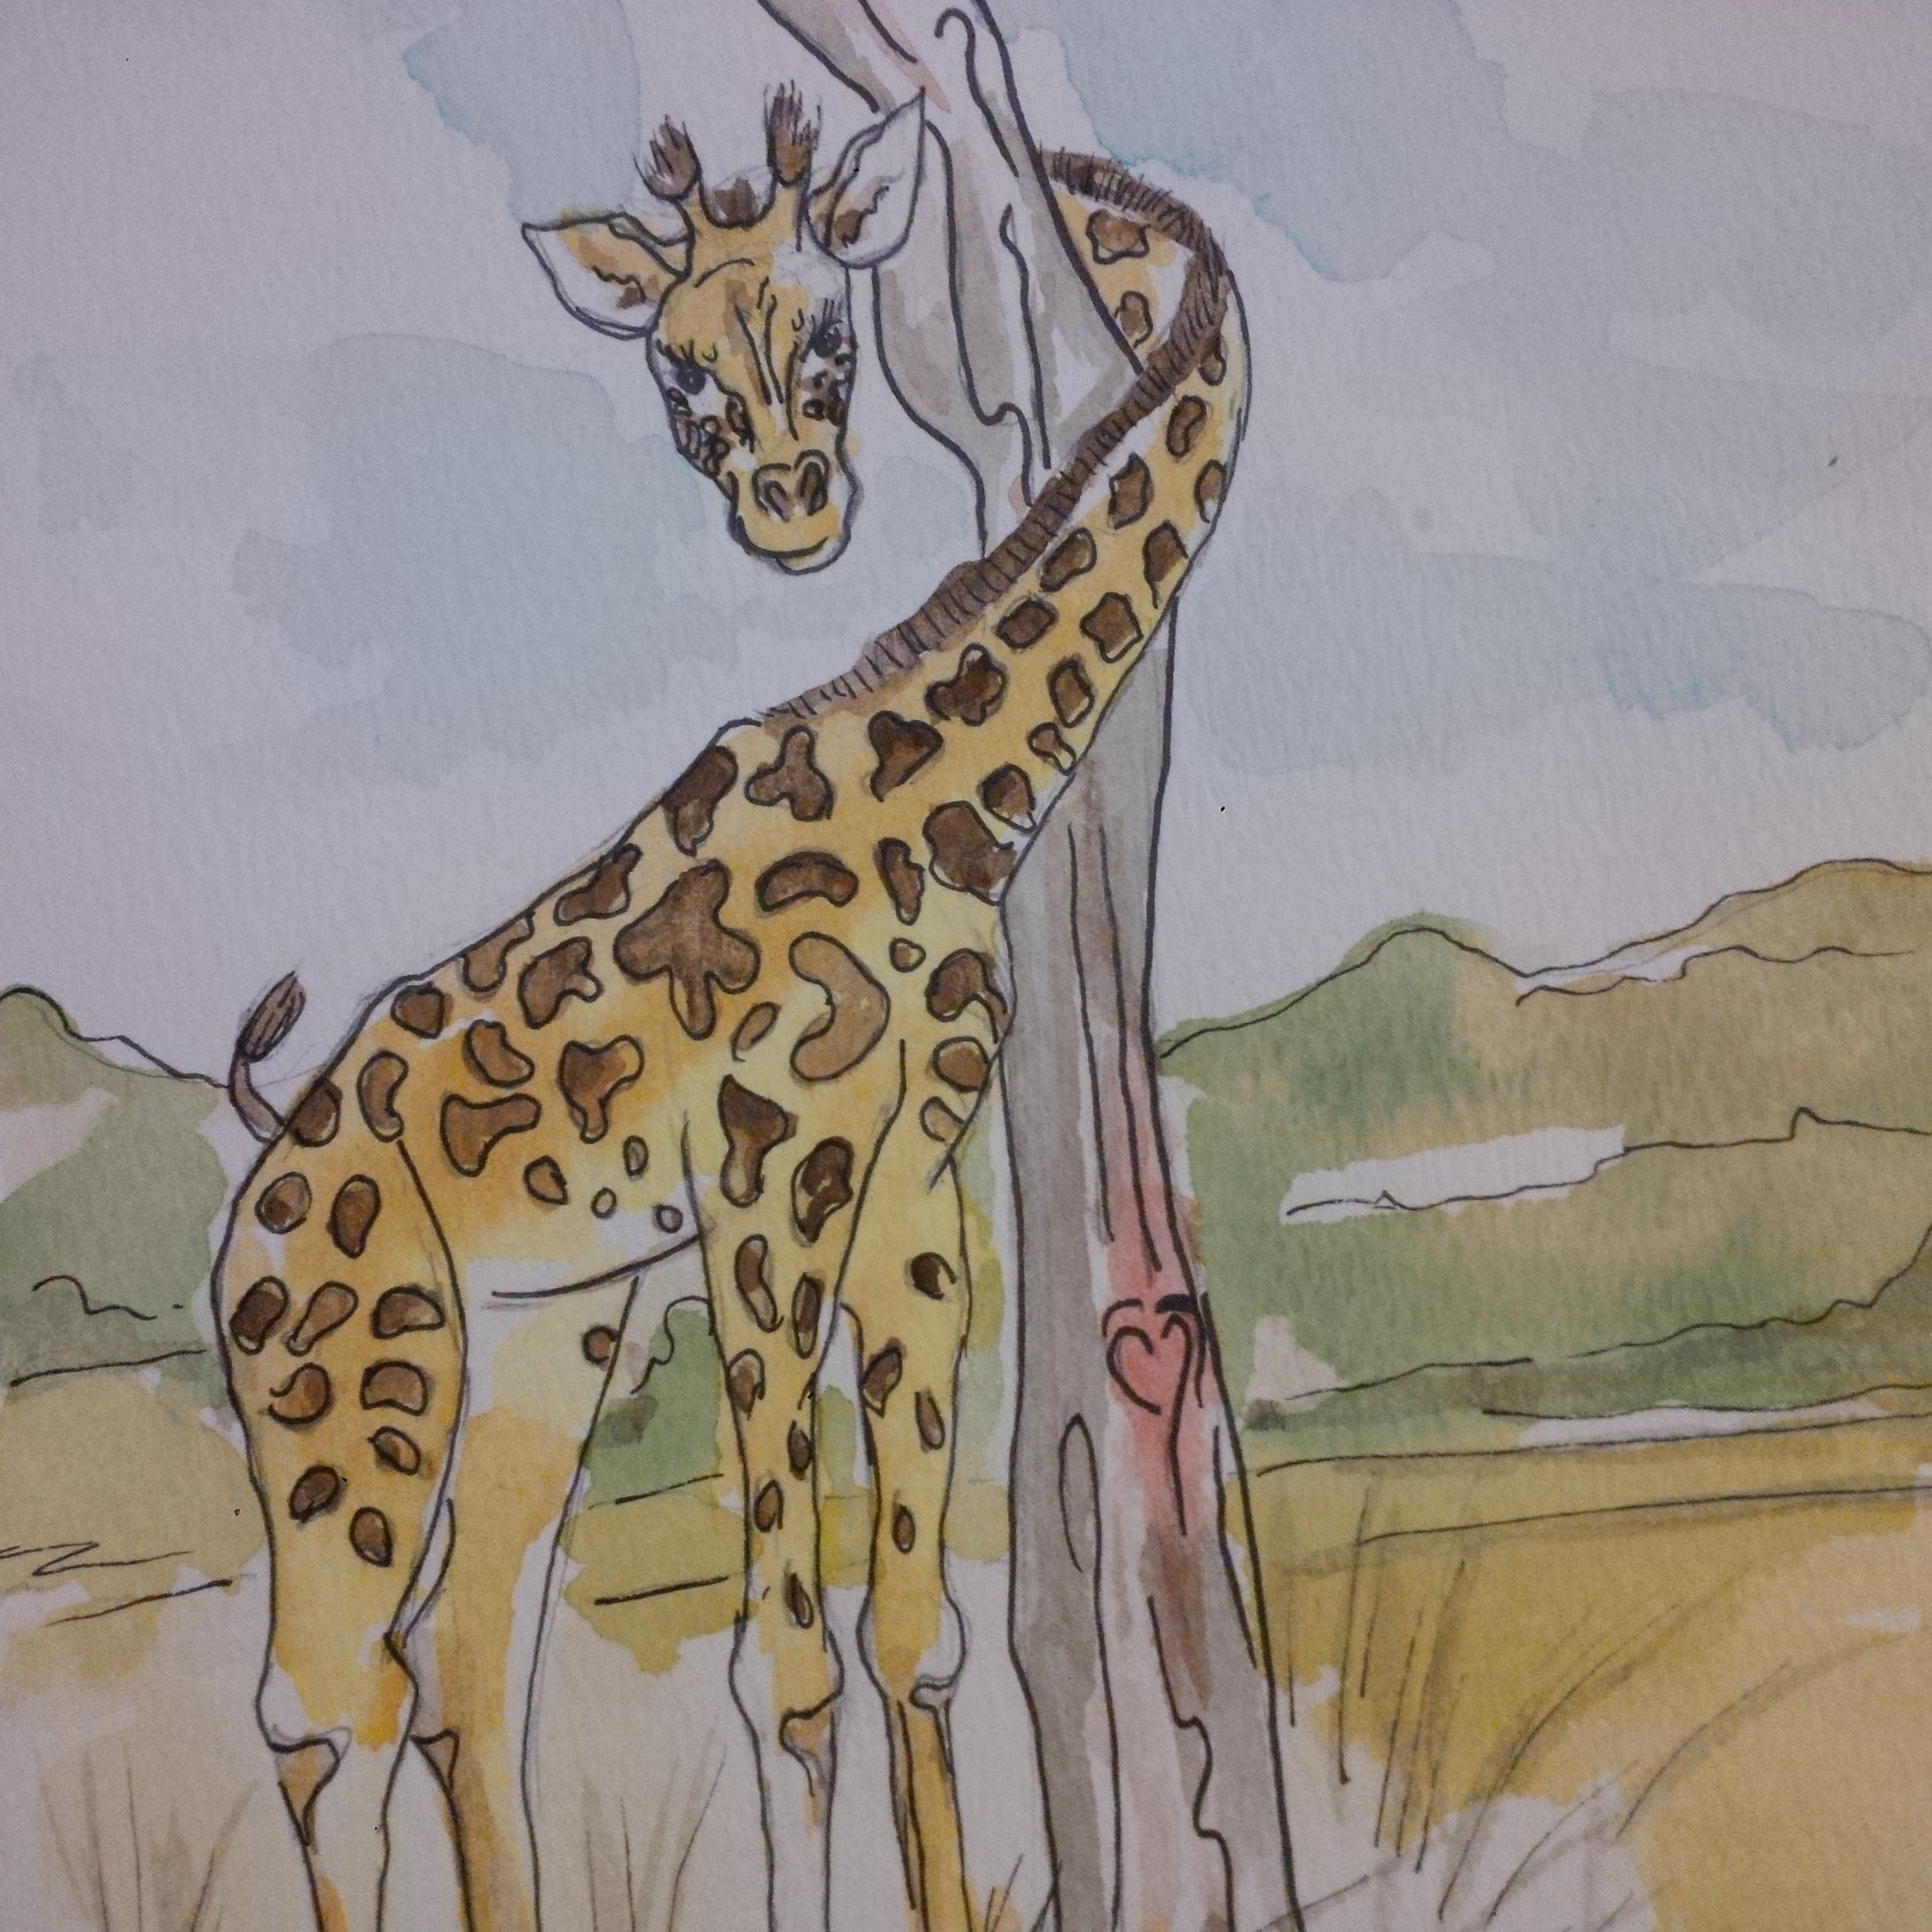
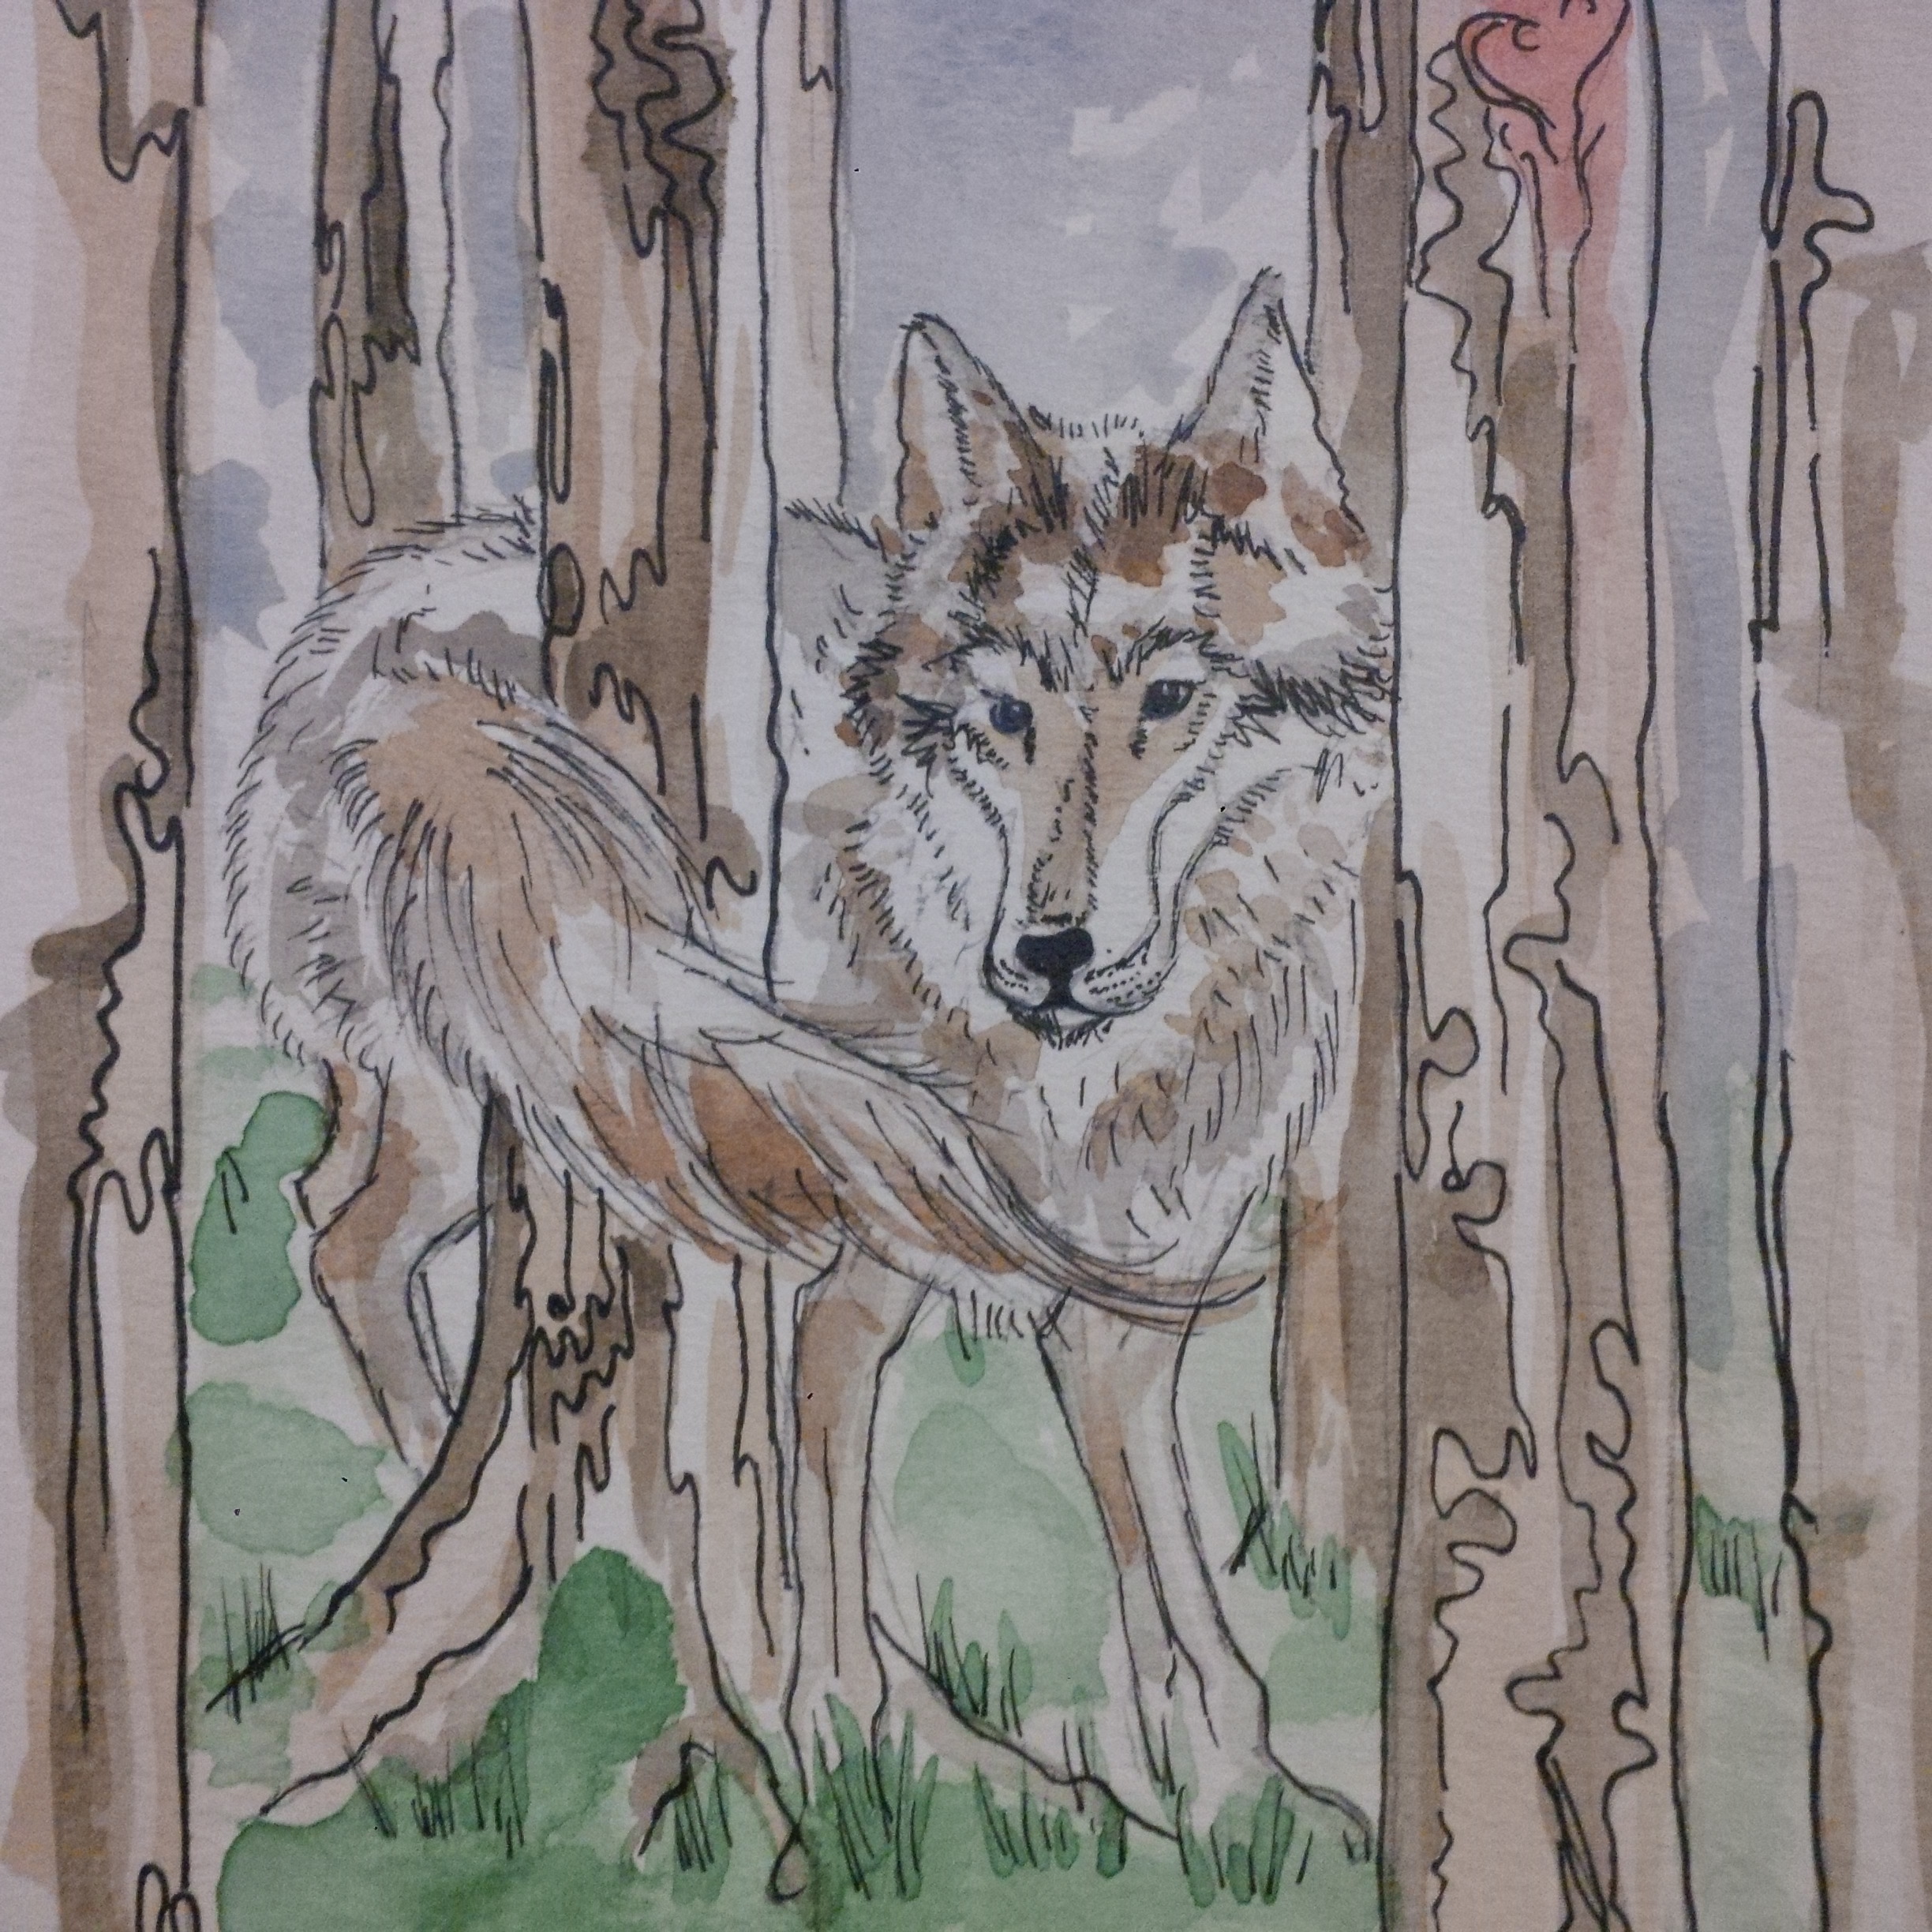
Trees and animals, “nature at its finest,” I thought and how better to show embracing than a HUG! One of the hardest things for me to do personally because it’s such an invasion of personal space for me. Two concerns resolving at one time, really working on issues with hugging and starting to reconnect with my unborn child.

Each animal I picked had a reason. 

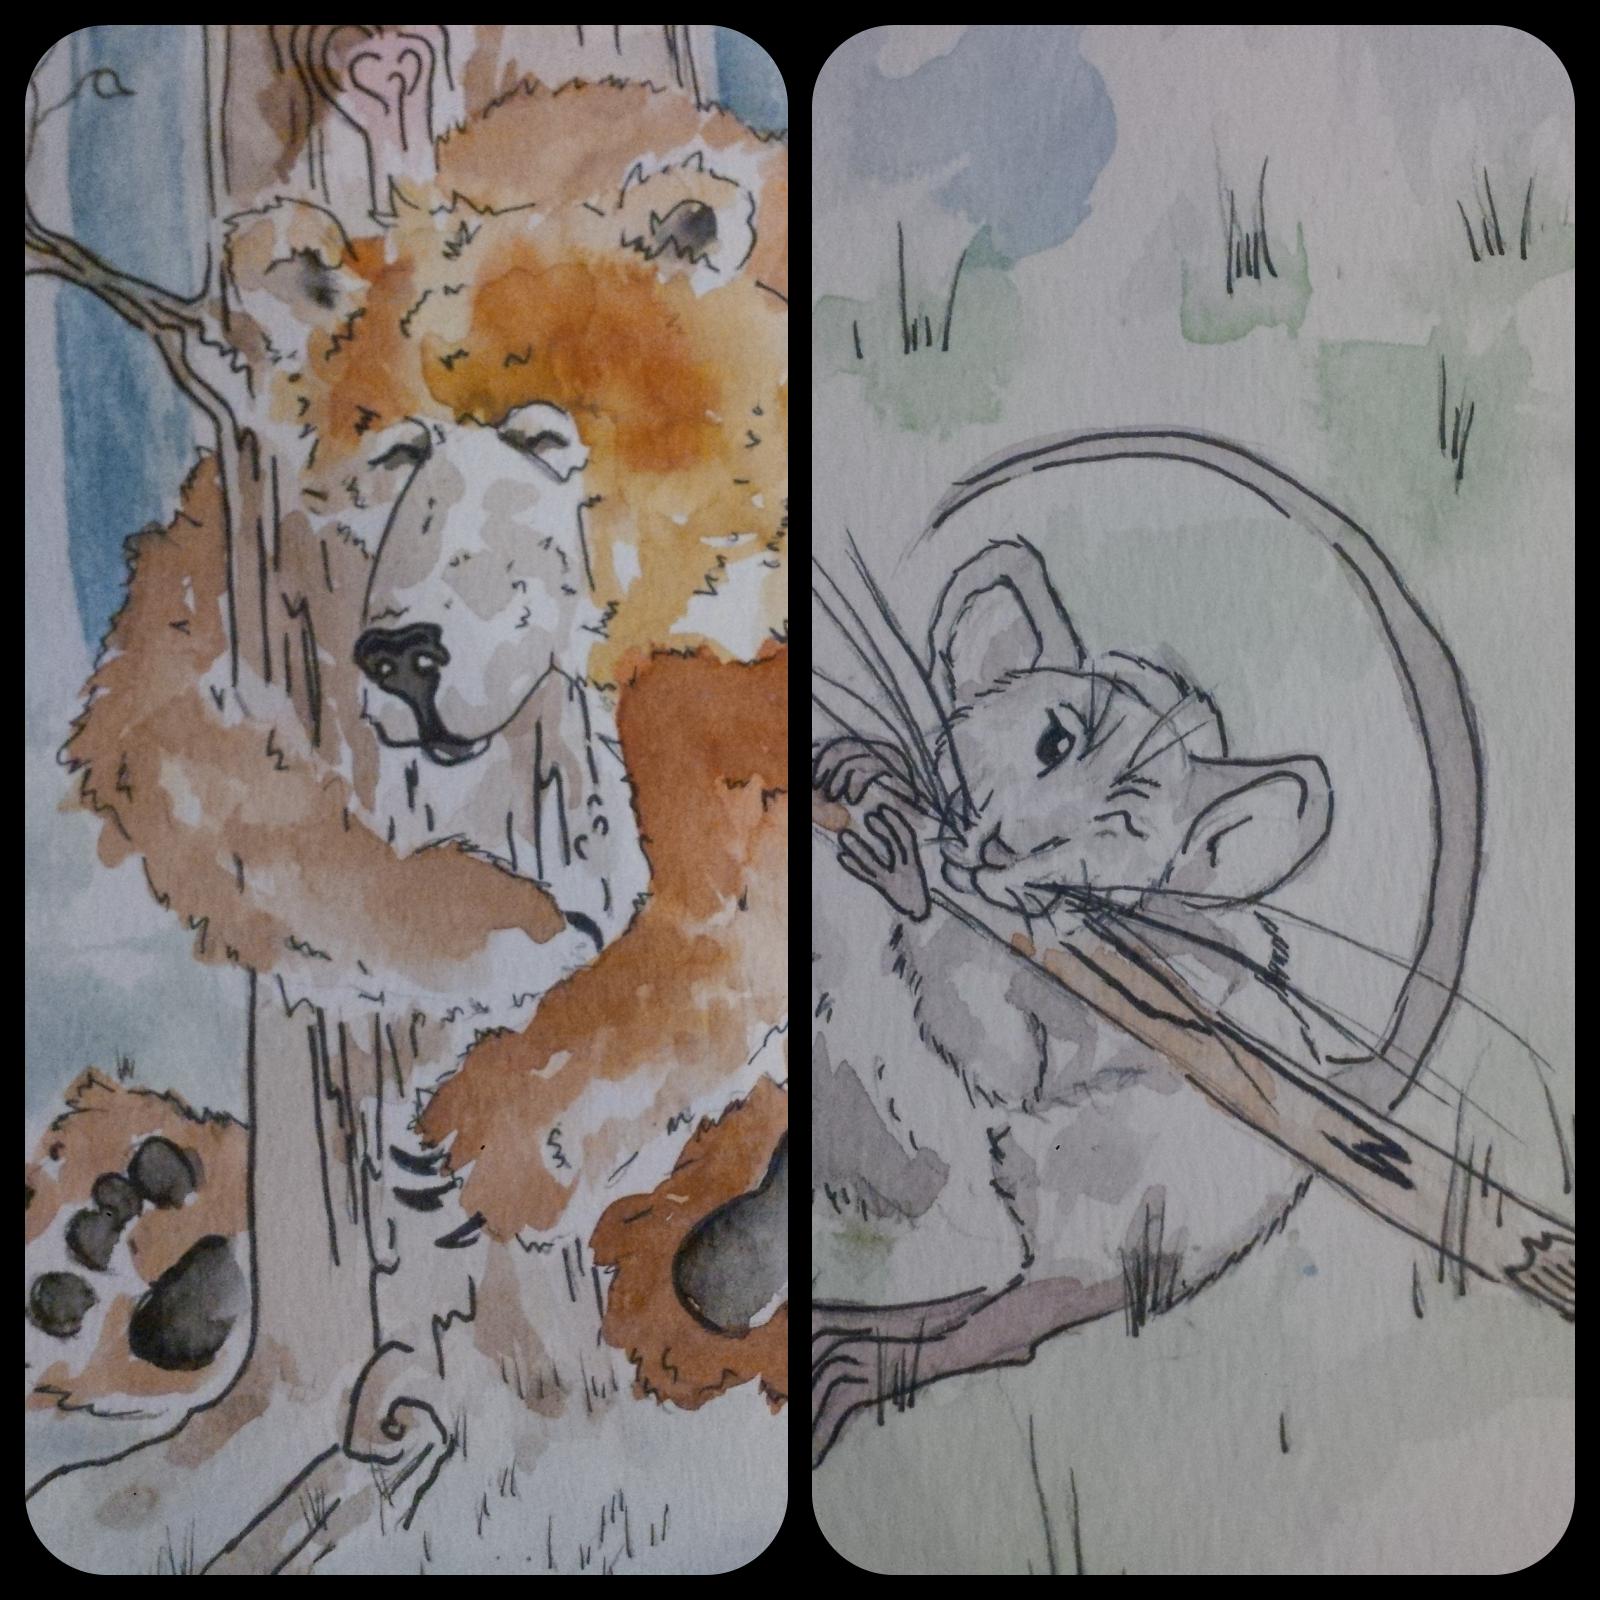
First the fox as it’s the animal I first associated with my first born son, second a bear because it’s the animal I associated with my unborn son and so on. Each animal was an opening of a new emotion or person I was trying to get in touch with.

Here are some of the images I created. I loved doing them so much I made more after my little one was born. I also sell them on my facebook page.


Pancakes That Taste Amazing!

I love pancakes as does my family, so I am always looking for better pancakes.

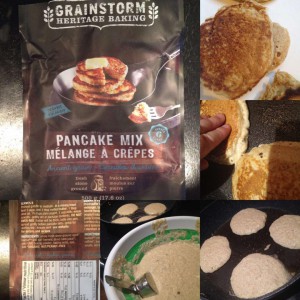
Recently I found these and oh my goodness they are soooooo good! Just to top it all off my picky 2 year old will devoured them! They don’t even need syrup they are that good!


Gluten Free Pancakes


Here are some of the kinks I worked out.

#1   Add 2 bananas for moisture and taste!

#2   Use a low heat when cooking, preheat pan on higher setting (I preheat at 7 then cook at 4)

#3   Use a ¼ measuring cup so you make your pancakes the perfect size and thickness for cooking

#4   After you flip them try pressing down, flattening them so they cook all the way through

#5   Don’t be afraid to flip multiple times

#6   I do 4 in a pan and make 5 pans worth, 20 in total

#7   It’s great to put left-overs in freezer bags and warm them in the toaster for a snack

#8   They taste amazing on own or with just a bit of butter


Hope you enjoy these as much as my family does!

Sarah McCarty

ABC’s of Gardening with Mrs. McCarty

Aplanning / Bplanting / C-reorganizing 


A-planning

Part ONE


Landscaping my new house

Step 1

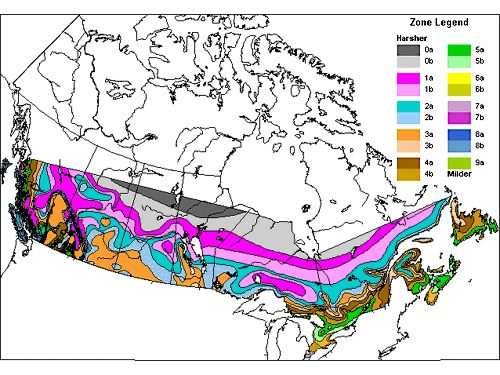
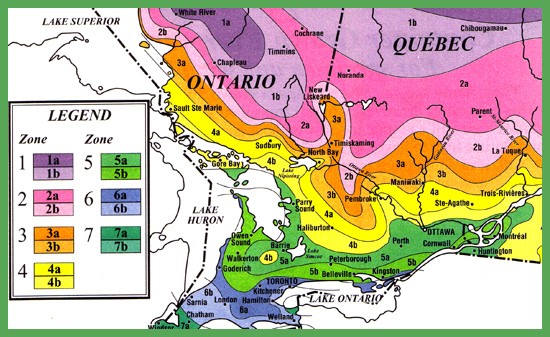
  • First determine what Zone you live in


My Zone is a 4-5 so I know I will have a greater chance of success with planting similarly zoned plants. Mind you I have learned specific zoned areas in my yard can change. For example, under a tree where there is more shade becomes a different zone. But that gets more complicated and I just am starting to learn so I will start with my area in Ontario. So I’m a 4-5.


Step 2

  • Picking a theme to keep it all unified; looking like it all belongs and looks united.


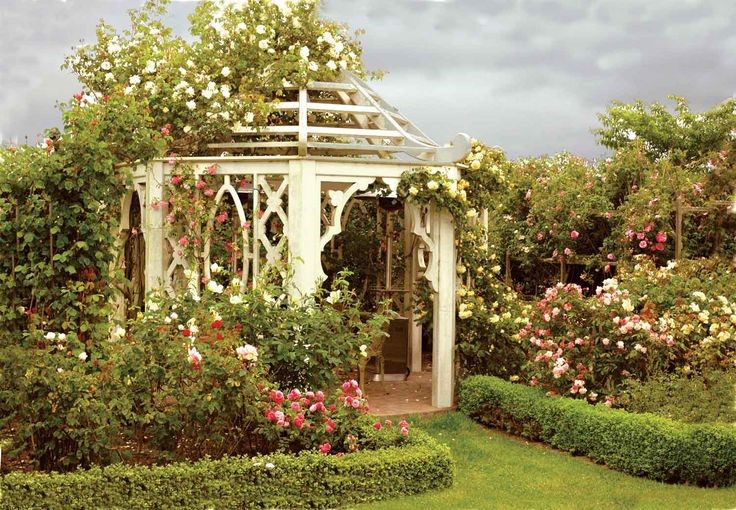
I picked a theme “Victorian Country”

To me this means:

  • Large bush like plants and medium trees
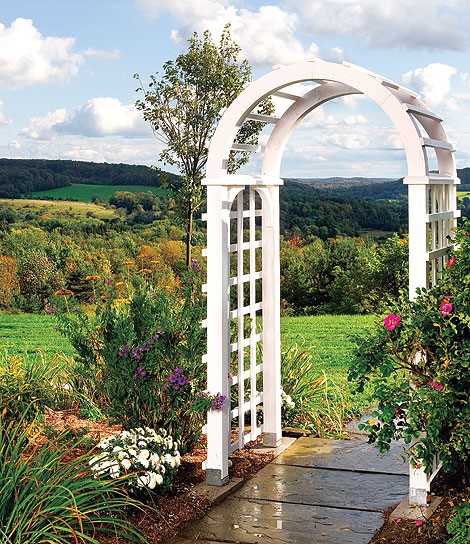
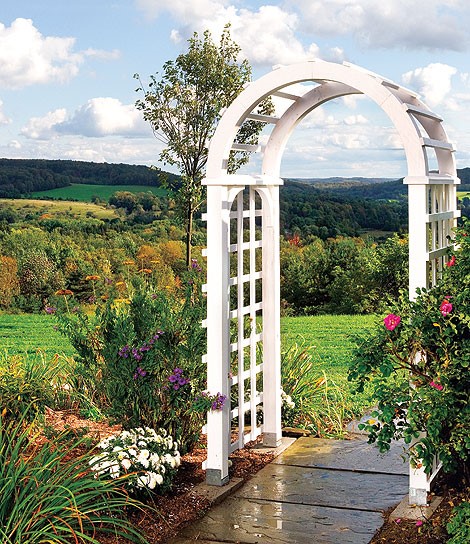
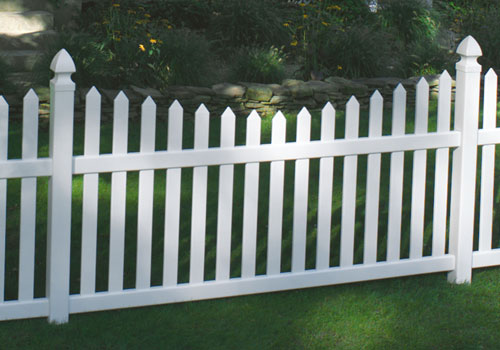
  • White picket fences and Arbors
  • Bushes as screens for privacy from neighbors and fill my view with plants
  • Touches of pink or purple
  • Fluffy flowers
  • Low scented
  • Plants that expand and take up space as they grow, climb and multiply


Now I had a theme and an understanding of what I wanted that theme to be.

I started to look for plants that suited the Zone and my list above.

MOST IMPORTANT TO ME WOULD BE MORE CANADIAN HERITAGE.


Step 3Drawn Yard


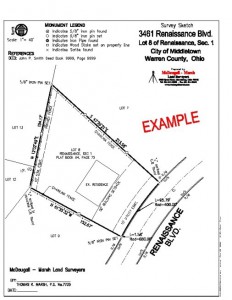
Get a drawing of the property.

I got a survey of my property and photo copied it. Its important to make copies in case you change your mind!

You can always just draw your yard yourself.


Step 4

Decide where you want to put fences and arbor ways.  (*sticking with your theme)

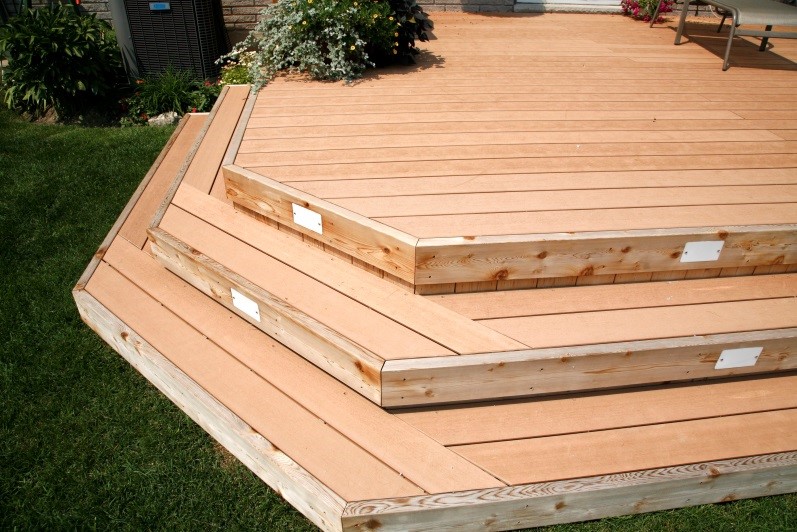
I decided I would put a small deck in front with a wraparound stair case and also in front a white picket fence and two arbor archs.


Step 5Garden Edge

Decided how to edge the garden.

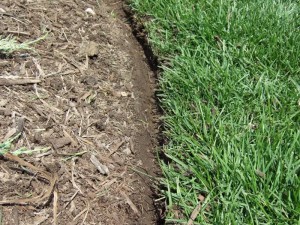
My last garden I used rocks this house to stay in theme I will just use grass and then dig a small trench and then mound (make a larger pile) to plant the plants in.

Mulch/wood chips to finish, I will decide later on color: black, brown or red.


Step 6

Draw out how many gardens you want with shape, position and type (bush/flowers/etc) in mind.

I picked an L shape for back, a large straight line for side gardens and a square for front


Step 7Stone Walkway

Design the walk ways.

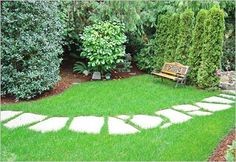
I decided on grass and wanted rock stepping stones. (Sticking with in my theme)


PART 2 of Planning soon to come!

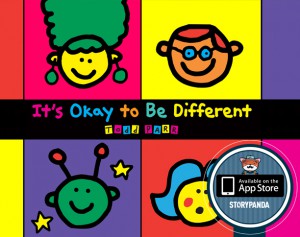
It’s Ok To Be Different – Leason Plan

Its Ok To Be Different

It’s Okay To Be Different

“It’s Okay to Be Different” Inspired Lesson Plan


  • Do lesson on cutting (see site for lesson)
  • Do lesson on gluing (see site for lesson)
  • Read the book ‘It’s Okay to Be Different’
  • Have the kids guess what the picture is asking, ‘How are they different?’, then read the page
  • Next, with the children do some drawings that look like the pictures in the book

Asking all along “How can we make this look like the book”, “Should we use crayon/marker/color to make it look round or flat?

  • Give the kids a piece of paper to draw and color out their own picture (rough draft)
  • How they are different? Have them write down how they are different
  • Then give them construction paper and cut out the shapes to recreate the image
  • Last step is to outline everything with a black marker, just like the book
  • Don’t forget to write the sentence explaining how they are different

Ex: ‘Sarah is different because she is an artist’

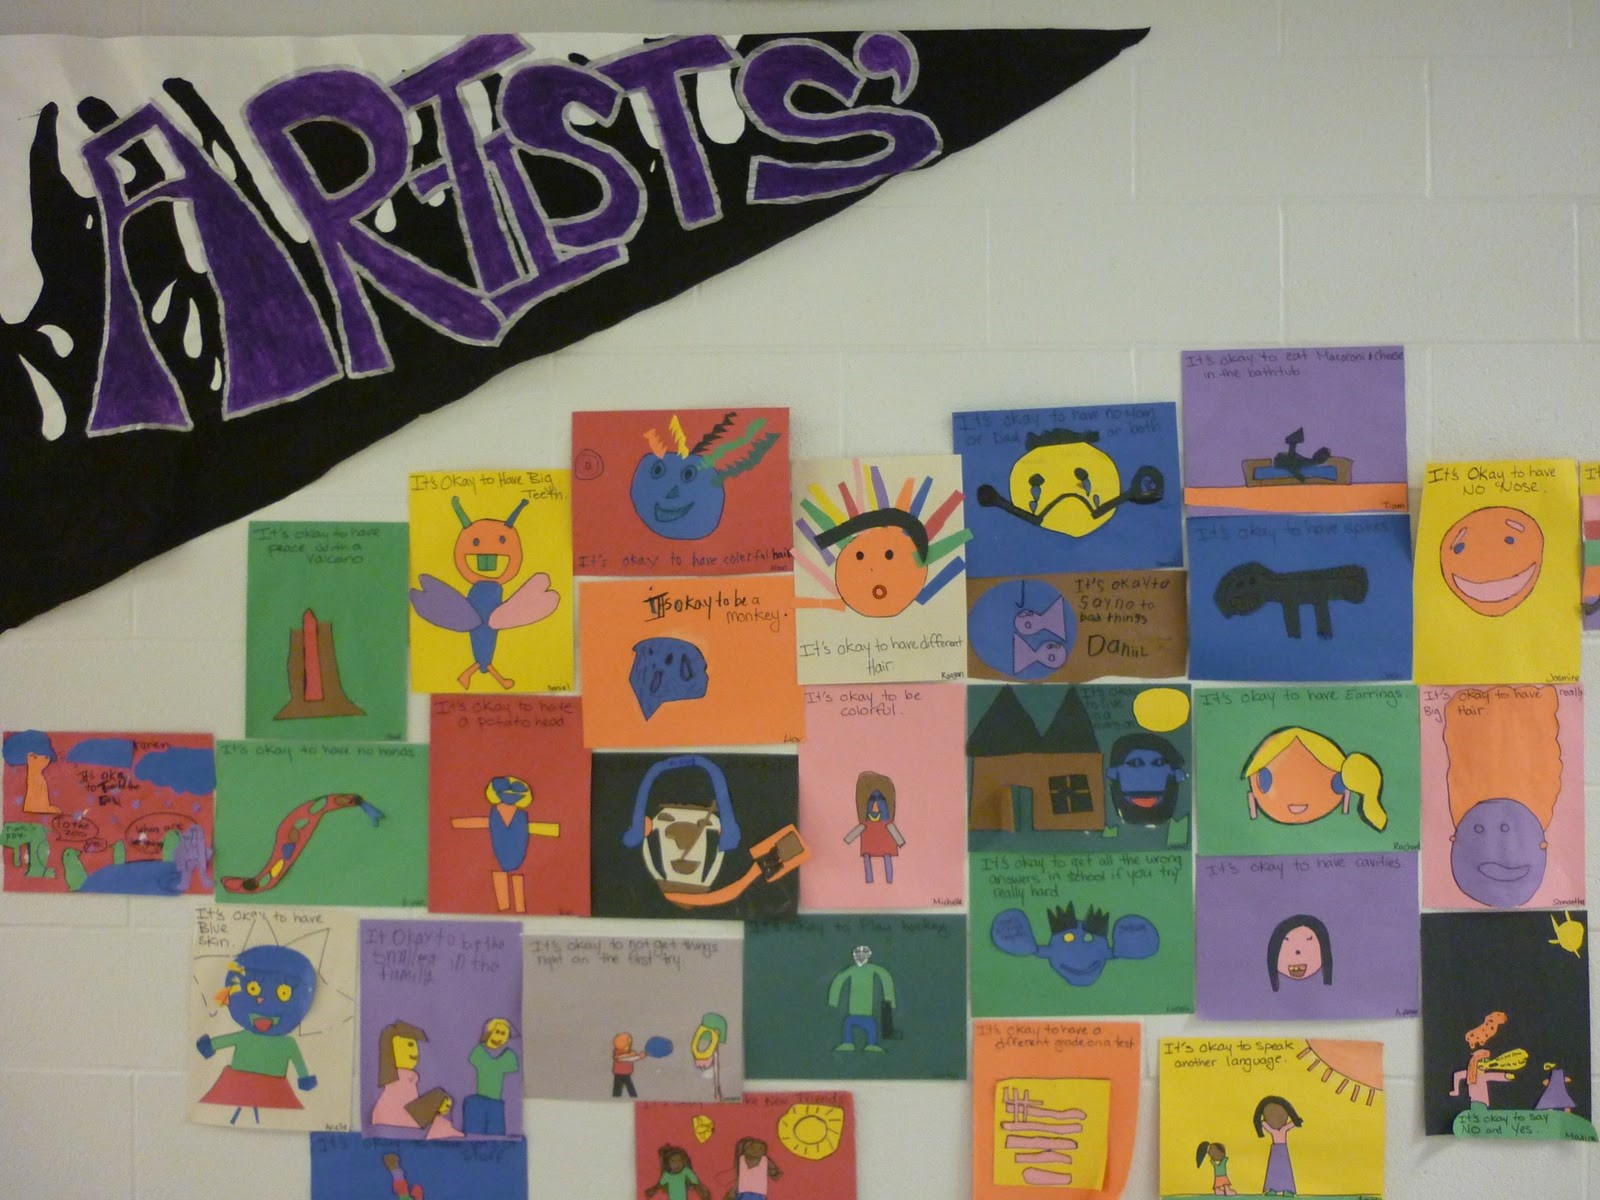
  • See below for an example grade 2 and grade 3 class results


Its Ok To Be Different Example


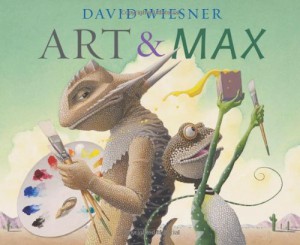
Art & Max – Lesson Plan

Art & Max

Art & Max

Art & Max Inspired Lesson Plan


  • Read book Art & Max
  • Do a lesson on emotions (See site for lesson)
  • Do a lesson on color (See site for lesson)
  • Do lesson on Jackson Pollock (See site for lesson)
  • Have student pre-draw out what Emotion and Color Scheme they wish to recreate. (Rough copy pencil crayon or marker)
  • Then make the painting (see Jackson Pollock lesson)
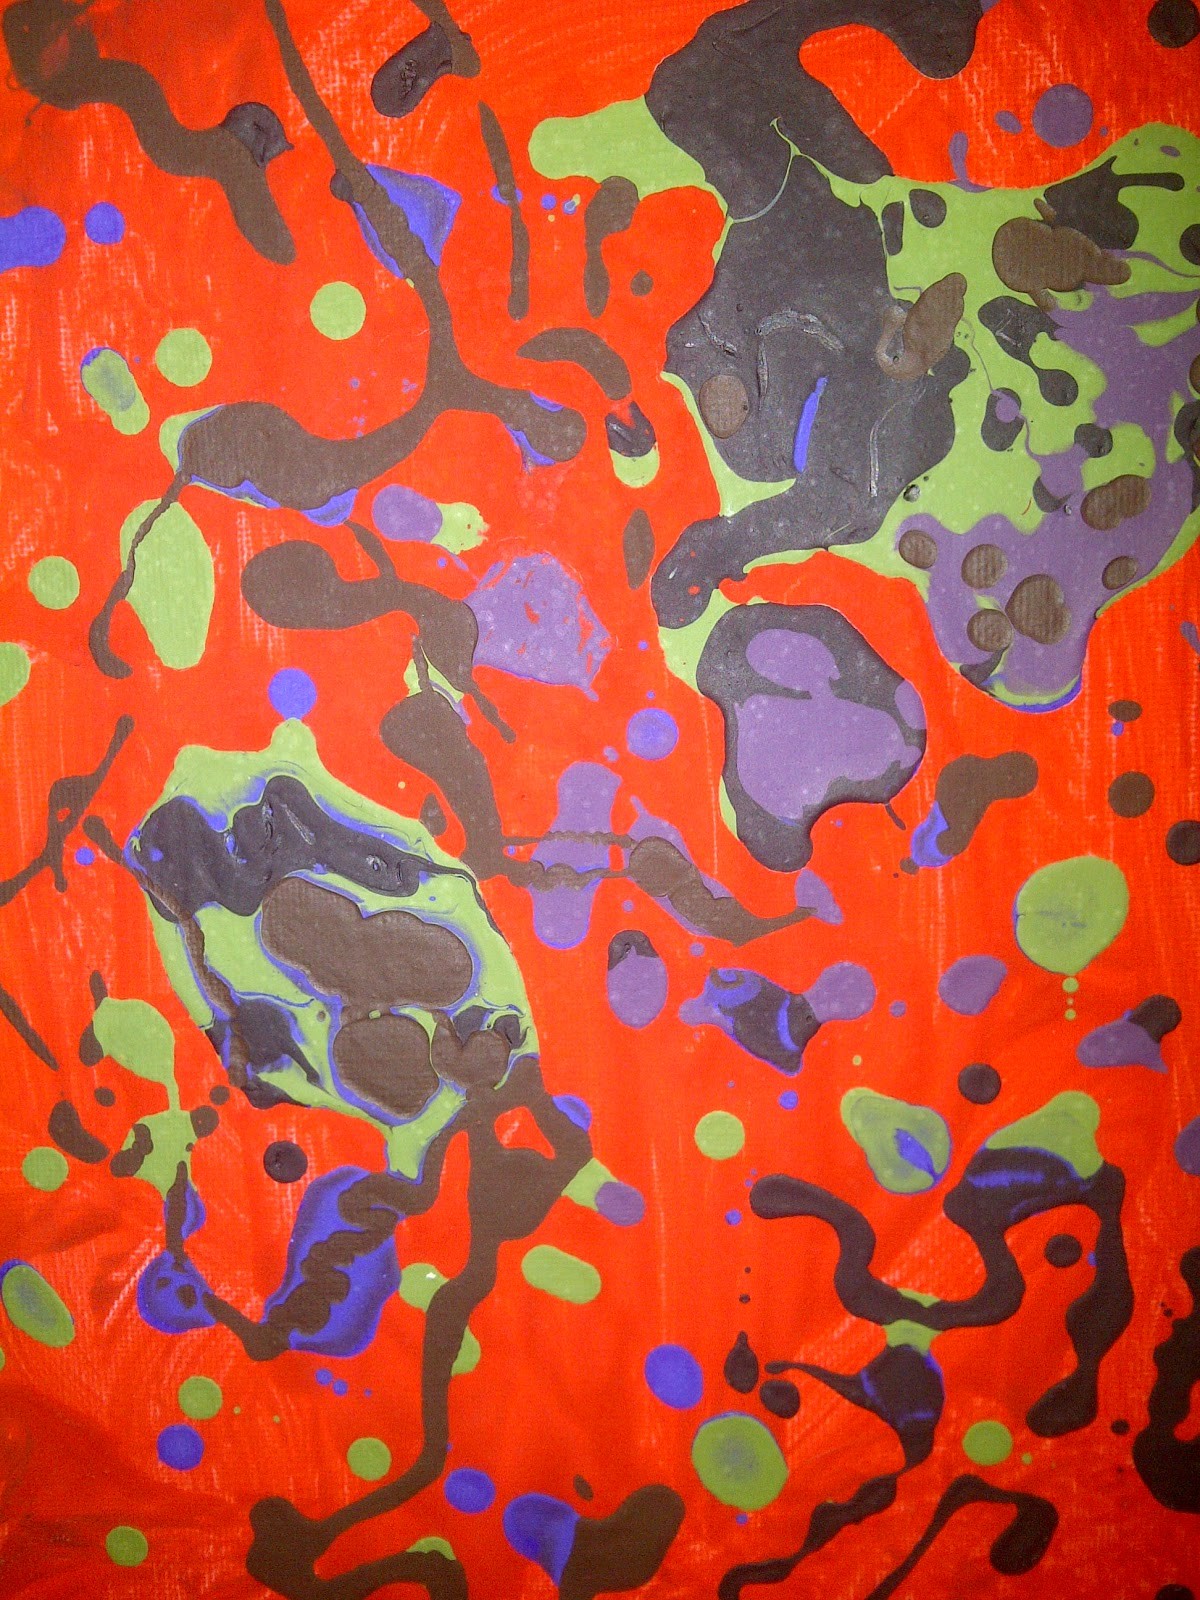
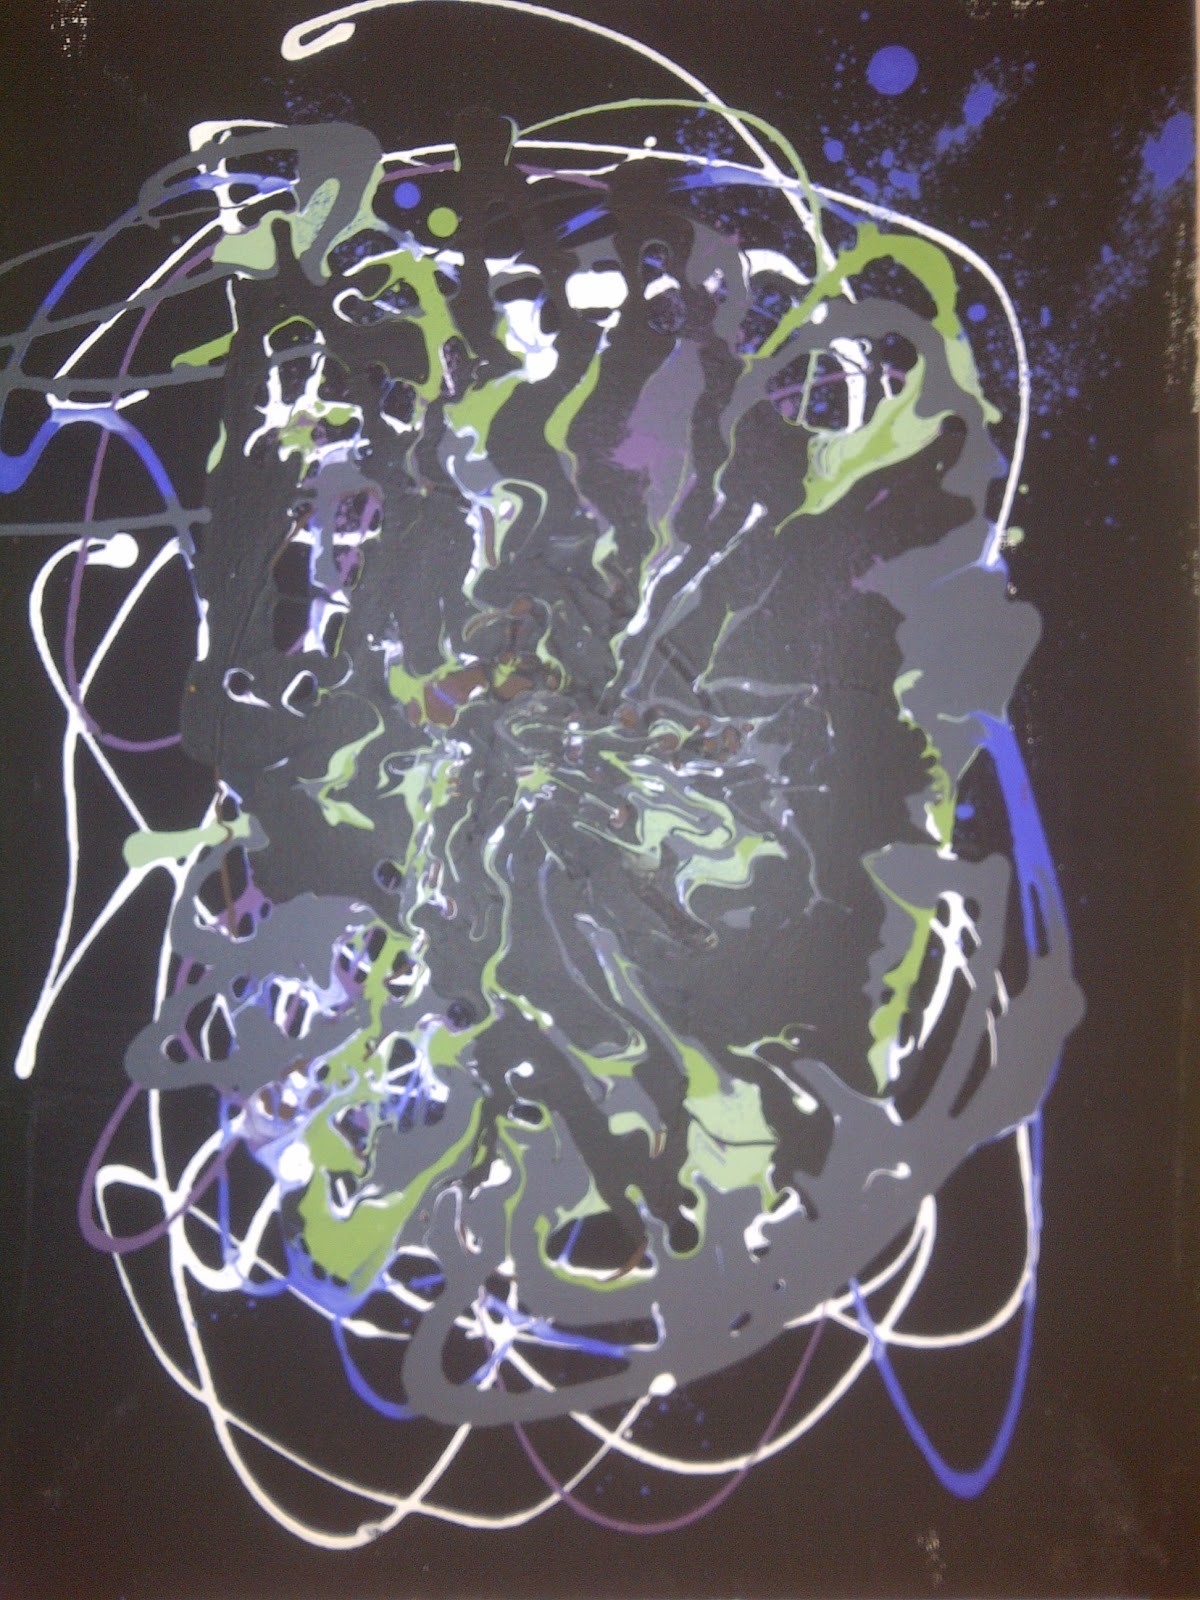
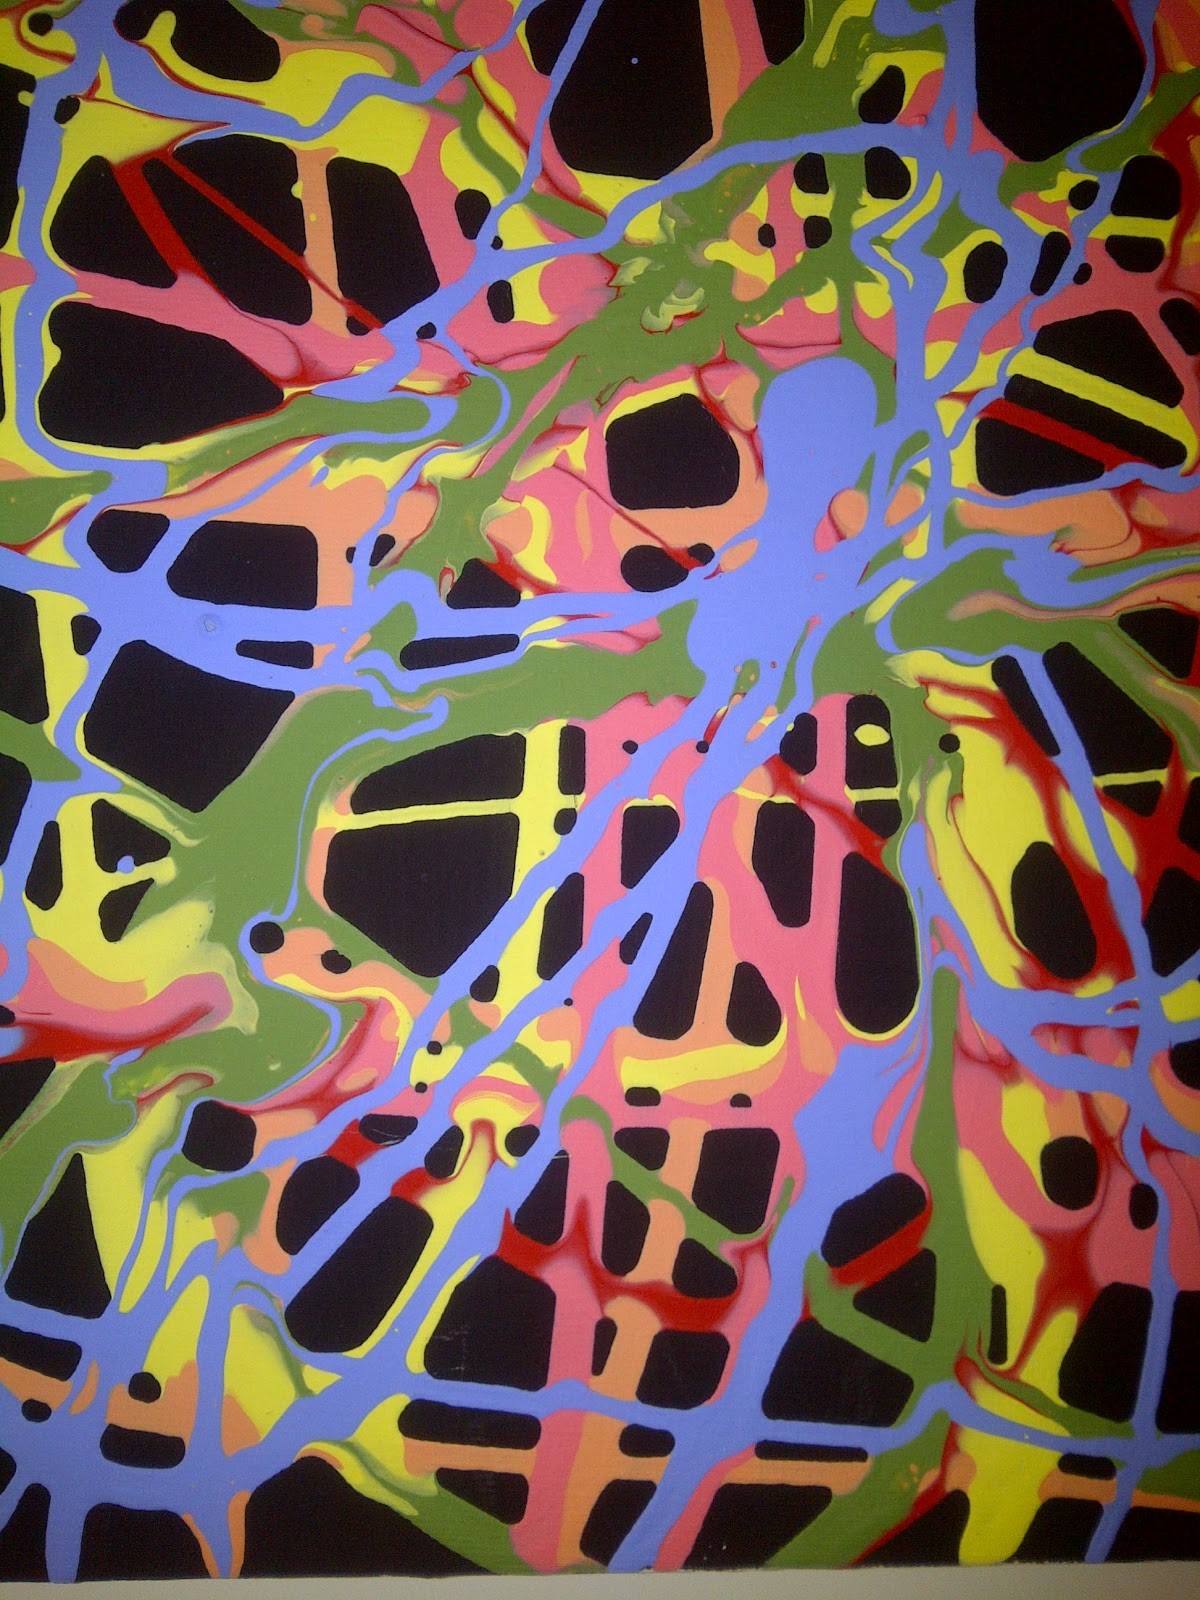
  • Then have the students try and guess what emotion or color scheme the artist (ie student) was meaning to represent


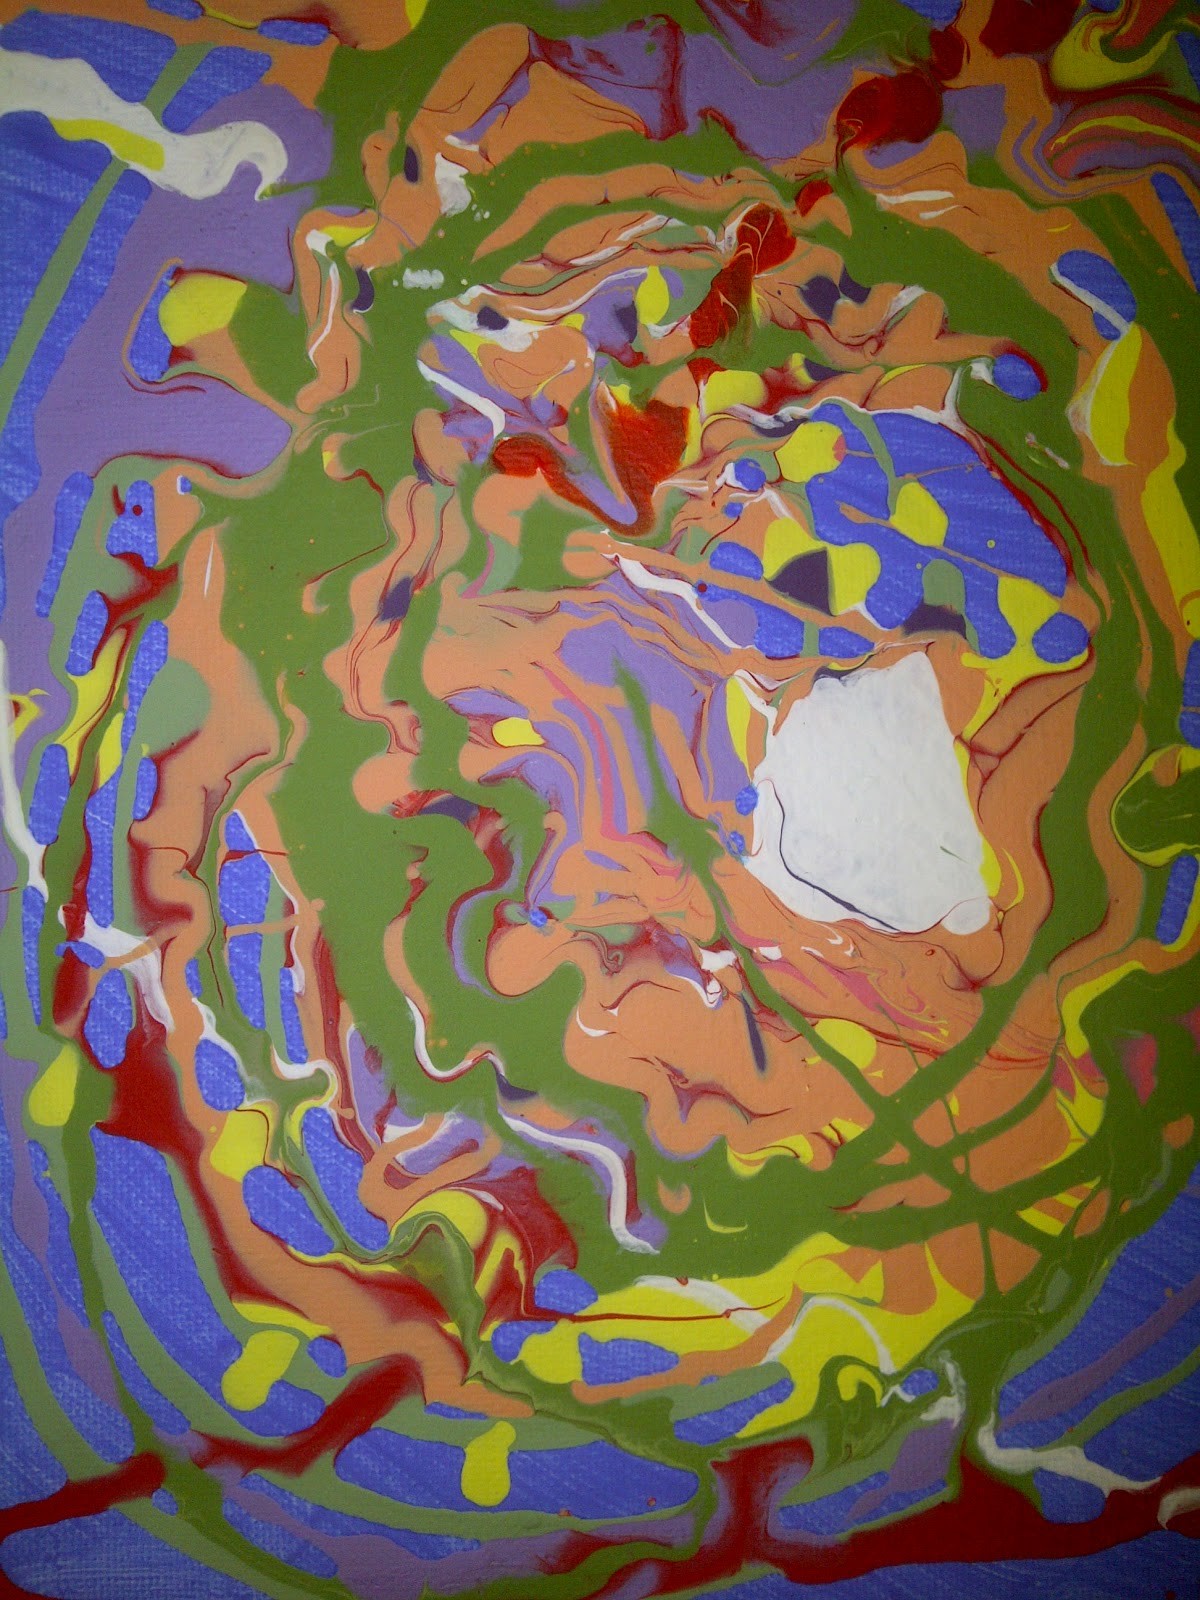
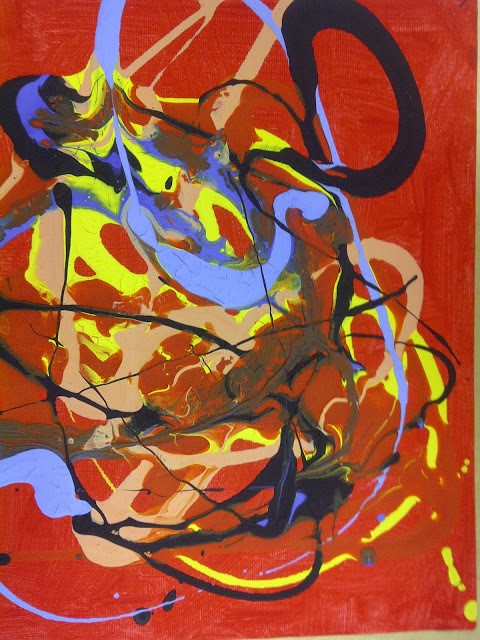
  • Examples below: Grades 3 to 8


ex5 ex4

ex3 ex2

ex1

Where My Teaching Ideas Come From!


I have many teachers and parents asking me where I get my inspiration for my teaching material. There is no one source that I use for inspiration I draw creative ideas from many sources! However I’ve taken a moment to share a few sources with you. It’s all about the kids you work with and what they need. I always have the curriculum in mind and 8+ years of living and breathing art so my greatest resource is my experience and imagination.


Book Sources of Inspiration for Teaching


1. Children’s books – always full of exciting works you can try to recreate and draw inspiration from

** How to Draw 101 Animals

Step by Step Inspiration

2. Children’s art books (books written for children based on a famous artist or artform)

** Dali and the Path of Dreams

Surrealism

3. “A Year in Art” activity books are full of ideas you can have just as back up

** A Year in Art: A Painting a Day

by Prestel

4. Hands on Art Books for Children

** Discovering Great Artists: Hands-on Art for Children in the Styles of the Great Masters

by Mary Ann F. Kohl and Kim Solga


You Can Ask Your Kids to Take a Poll


Example 1.

What material do you want to use?

Paint

Water color

Pencil

Crayon

Pastel

Cutting and gluing

Clay

(Etc…)

*** Remember only give them options you are prepared to actually teach them! Don’t disappoint and make their suggestions invalid!


Example 2.

What do you want your creations to look like?

Animals

Humans

Multi media

(Etc…)

*** Make it a math lesson and have the class add it up together or do it in front of them in a grid/table format.


Do a Mini Lesson on a Variety of Art Styles


Surrealism

Realism

Modernism

Impressionism

Make up your own together!

Make art as a group (table, partner, with another class, etc.)


Do a Craft


I’m not big on crafts so look to pin interest for that, hahahah 😛


Hope this will help all of you,
Mrs. McCarty